Universal Links require two things to work: an apple-app-site-association (AASA) file on your server, and the correct configuration inside your Xcode project. Most developers get the server side working, then run into quiet failures on the Xcode side. Missing entitlements, incorrect provisioning profiles, and mistyped domain entries all produce the same result: the link opens in Safari instead of your app, with no error to explain why.
This guide covers every Xcode setting involved in Universal Links configuration, from enabling the capability through to testing in the simulator and on device. It also covers edge cases like multiple targets, CI/CD builds, and manual entitlements editing.
Step 1: Enable the Associated Domains Capability
Open your Xcode project and select the target you want to configure (not the project, the target). Navigate to the Signing & Capabilities tab.
Click the + Capability button in the top-left corner. In the search dialog, type "Associated Domains" and double-click it. Xcode adds an Associated Domains section to your capabilities list and, behind the scenes, creates or updates an .entitlements file for your target.
For a deeper explanation of what the Associated Domains entitlement does and how it connects to your AASA file, see our Associated Domains entitlement guide.
If you see an error saying the capability cannot be added, your Apple Developer account may not have the Associated Domains entitlement enabled. Verify that your App ID in the Apple Developer Portal has Associated Domains checked under Capabilities. After enabling it there, Xcode should accept the addition.
Step 2: Add Your Domain Entries
With the Associated Domains capability added, you will see an empty list in the Xcode UI. Click the + button to add an entry. Each entry must follow the format applinks:yourdomain.com.
For example, if your domain is tolinku.com, you would add:
applinks:tolinku.com
A few important rules about these entries:
- Do not include
https://or a trailing slash. - Subdomains are separate entries. If you want links from both
www.example.comandexample.comto open your app, add both. - Wildcards are supported at the subdomain level:
applinks:*.example.commatches any subdomain but not the bare domain itself. - The
applinks:prefix is specific to Universal Links. If you are also setting up Handoff or Shared Web Credentials, those use different prefixes (activitycontinuation:andwebcredentials:respectively).
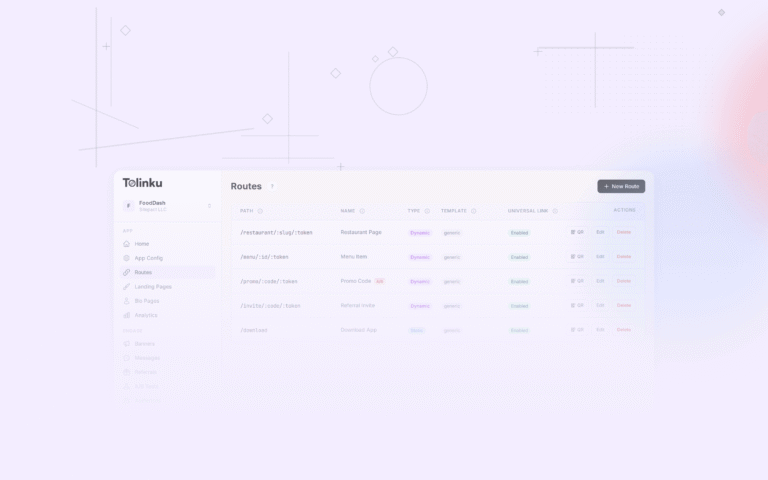
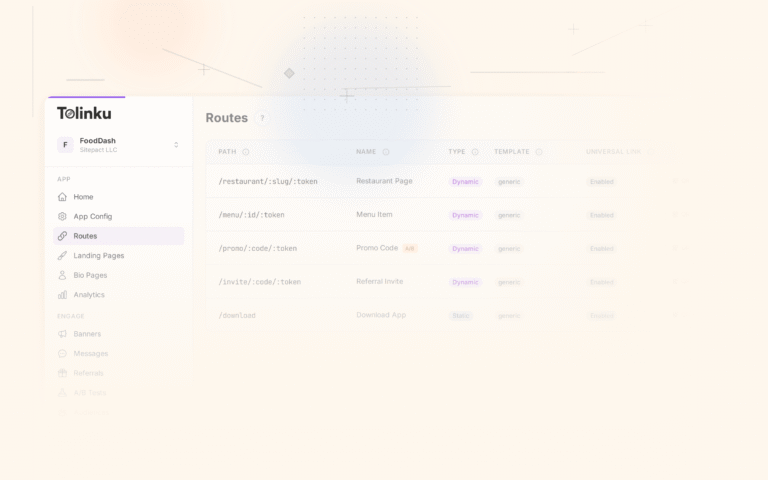
To configure Tolinku as your deep linking platform, you would add your Tolinku-managed domain or your own custom domain here. The entry should match whatever domain your AASA file is hosted on.
Step 3: Verify the Entitlements File
Enabling Associated Domains in the Xcode UI automatically writes the configuration to an .entitlements file. Xcode usually names this YourApp.entitlements and places it at the root of your target's source folder.
Open the file in Xcode (or any text editor) to confirm the contents look correct. A properly configured entitlements file for Universal Links looks like this:
<?xml version="1.0" encoding="UTF-8"?>
<!DOCTYPE plist PUBLIC "-//Apple//DTD PLIST 1.0//EN" "http://www.apple.com/DTDs/PropertyList-1.0.dtd">
<plist version="1.0">
<dict>
    <key>com.apple.developer.associated-domains</key>
    <array>
        <string>applinks:example.com</string>
        <string>applinks:www.example.com</string>
    </array>
</dict>
</plist>
If the entitlements file is missing the com.apple.developer.associated-domains key entirely, the capability was not saved correctly. Try removing and re-adding it in the Signing & Capabilities tab.
Also confirm that your target's build settings actually reference this entitlements file. Select your target, go to Build Settings, and search for "Code Signing Entitlements." The value should point to the .entitlements file relative to the project root, for example YourApp/YourApp.entitlements. If this field is blank, your entitlements will not be included in the build.
Step 4: Check the Provisioning Profile
Associated Domains must be enabled in your provisioning profile, not just in your entitlements file. A mismatch here is one of the most common reasons Universal Links silently fail.
Go to the Apple Developer Portal and find the provisioning profile you are using for this target. Download and inspect it, or check its App ID. The App ID linked to this profile must have Associated Domains enabled under Capabilities.
If you recently enabled Associated Domains on your App ID, you need to regenerate your provisioning profile. The old profile was issued before the capability existed on the App ID, so it will not include the entitlement.
After regenerating the profile, download it and either install it manually (double-click the .mobileprovision file) or refresh it in Xcode by going to Preferences > Accounts, selecting your Apple ID, and clicking Download Manual Profiles. Alternatively, enable Automatically manage signing in your target's Signing & Capabilities tab to let Xcode handle profile regeneration.
Step 5: Add URL Handling Code
The Xcode configuration only tells the OS that your app can handle certain domains. You still need code that actually responds to those URLs. Where that code goes depends on your app's architecture.
AppDelegate (UIKit)
If your app uses an AppDelegate without a SceneDelegate, implement application(_:continue:restorationHandler:):
import UIKit

@UIApplicationMain
class AppDelegate: UIResponder, UIApplicationDelegate {

    func application(
        _ application: UIApplication,
        continue userActivity: NSUserActivity,
        restorationHandler: @escaping ([UIUserActivityRestoring]?) -> Void
    ) -> Bool {
        guard userActivity.activityType == NSUserActivityTypeBrowsingWeb,
              let url = userActivity.webpageURL else {
            return false
        }
        handleIncomingURL(url)
        return true
    }

    private func handleIncomingURL(_ url: URL) {
        // Parse the URL and navigate to the correct screen
        guard let components = URLComponents(url: url, resolvingAgainstBaseURL: true) else {
            return
        }
        let path = components.path
        // Route based on path
        print("Handling universal link: \(path)")
    }
}
SceneDelegate (UIKit with Scenes)
Apps using SceneDelegate (Xcode 11+) receive the URL in a different method:
import UIKit

class SceneDelegate: UIResponder, UIWindowSceneDelegate {

    func scene(
        _ scene: UIScene,
        continue userActivity: NSUserActivity
    ) {
        guard userActivity.activityType == NSUserActivityTypeBrowsingWeb,
              let url = userActivity.webpageURL else {
            return
        }
        handleIncomingURL(url)
    }

    private func handleIncomingURL(_ url: URL) {
        guard let components = URLComponents(url: url, resolvingAgainstBaseURL: true) else {
            return
        }
        // Navigate based on components.path and components.queryItems
    }
}
SwiftUI
SwiftUI apps handle Universal Links using the .onOpenURL modifier, which you attach to the root view or any view high in the hierarchy:
import SwiftUI

@main
struct MyApp: App {
    var body: some Scene {
        WindowGroup {
            ContentView()
                .onOpenURL { url in
                    handleIncomingURL(url)
                }
        }
    }

    private func handleIncomingURL(_ url: URL) {
        guard let components = URLComponents(url: url, resolvingAgainstBaseURL: true) else {
            return
        }
        let path = components.path
        // Parse path and update navigation state
    }
}
Note that .onOpenURL receives URLs from both Universal Links and custom URI schemes, so you may want to check the scheme and host if you use both.
For more detail on routing incoming URLs to the right screen, see the Tolinku iOS configuration guide.
Step 6: Build and Test
Before testing on a device, do a clean build: Product > Clean Build Folder (Shift+Command+K), then build again. Stale build artifacts can carry over old entitlements.
Testing on a Physical Device
Run the app on a physical device connected via USB. Once installed, send yourself a link (email or iMessage works well) and tap it. The link should open your app directly.
If Safari opens instead, check the following in order:
- The domain in your
applinks:entry exactly matches the domain in the URL you tapped. - Your AASA file is accessible at
https://yourdomain.com/.well-known/apple-app-site-associationand returns the correctContent-Type: application/jsonheader. Our AASA file setup guide covers the full hosting and formatting requirements. - The path in the URL matches a rule in your AASA file's
applinks.detailsarray. - The app was installed after you enabled Associated Domains. If the app was already on the device from a build without the capability, uninstall and reinstall.
Apple provides a validator tool where you can check your AASA file and App ID pairing.
Testing in the Simulator
The iOS Simulator supports Universal Links testing with a specific workflow. In Xcode 14+, you can drag a URL into the simulator window, or use the simctl command-line tool:
xcrun simctl openurl booted "https://example.com/product/123"
This triggers the URL routing logic on the simulated device. The simulator uses the locally built app and its entitlements, so it is useful for testing your URL handling code. However, the simulator does not actually verify the AASA file against Apple's CDN, so it will open your app for any domain listed in your entitlements regardless of whether the AASA file is correct on the server.
For full end-to-end testing, always use a physical device. Our guide on testing Universal Links covers additional testing strategies, including using Apple's diagnostic tools and Charles Proxy for debugging.
Multiple Targets and Schemes
If your project has multiple targets (for example, a main app and a notification service extension, or a debug and release scheme), each target that needs to handle Universal Links requires its own Associated Domains configuration.
The extension targets usually do not need Universal Links. The main app target is the one to configure. However, if you have separate app variants (like a staging app with a different bundle ID), each variant needs its own App ID in the Developer Portal with Associated Domains enabled, its own provisioning profile, and its own entitlements file.
If you use multiple Xcode schemes for different environments, make sure each scheme's build configuration points to the correct .entitlements file. It is easy to have a staging scheme that still references the production entitlements (or vice versa), which causes the app to claim the wrong domain.
CI/CD Considerations
Building on CI requires the same provisioning profile that includes the Associated Domains entitlement. This is the most common CI breakage point for Universal Links.
If you use Xcode Cloud, the profiles are managed automatically through your Apple Developer account. If you use a custom CI environment (GitHub Actions, Bitrise, CircleCI), you need to:
- Export the provisioning profile from Xcode as a
.mobileprovisionfile. - Base64-encode it and store it as a CI secret.
- Decode and install it on the CI runner before building.
- Set the
PROVISIONING_PROFILEandCODE_SIGN_IDENTITYbuild settings in yourxcodebuildcommand.
A minimal xcodebuild invocation for CI looks like:
xcodebuild \
  -project MyApp.xcodeproj \
  -scheme MyApp \
  -configuration Release \
  -destination "generic/platform=iOS" \
  CODE_SIGN_STYLE=Manual \
  PROVISIONING_PROFILE_SPECIFIER="MyApp Distribution" \
  CODE_SIGN_IDENTITY="Apple Distribution: My Company (XXXXXXXXXX)" \
  archive \
  -archivePath build/MyApp.xcarchive
If you use fastlane, the match action handles certificate and profile management and is the most reliable approach for team environments.
Manual Entitlements Editing
Sometimes the Xcode UI for capabilities is unavailable or unreliable. This happens with certain account roles, some enterprise setups, or when working with projects checked out by another developer. In those cases, you can edit the .entitlements file directly.
Open the .entitlements file in Xcode's plist editor or a plain text editor. Add or modify the com.apple.developer.associated-domains key manually:
<key>com.apple.developer.associated-domains</key>
<array>
    <string>applinks:example.com</string>
</array>
After editing manually, go back to the Signing & Capabilities tab to verify Xcode reflects the change. If the capability does not appear there, click + Capability and add Associated Domains again. Xcode will read the existing values from the file rather than overwriting them.
Common Xcode Errors and Fixes
"Provisioning profile doesn't include the com.apple.developer.associated-domains entitlement" Your App ID does not have Associated Domains enabled, or your provisioning profile predates that change. Enable the capability on the App ID in the Developer Portal, regenerate the profile, and update Xcode.
Entitlements file not found during build The path in Build Settings > Code Signing Entitlements points to a file that does not exist. Check the path exactly, including case. On case-sensitive file systems, a mismatched case will break the build even if it looks correct in Finder.
Universal Links work on device but not after an app update iOS re-fetches the AASA file after app updates, but the timing depends on Apple's CDN. If you changed the AASA file and the old version was cached, it may take up to 24-48 hours for all devices to pick up the change. For testing during development, uninstall and reinstall the app to force a fresh fetch.
Links open in Safari on iOS 15 and later even with correct configuration
iOS 15 introduced stricter AASA handling. Check that your server serves the AASA file without redirects and with a Content-Type of application/json. A redirect from HTTP to HTTPS, or from the root path to /.well-known/, can cause the fetch to fail silently.
For a complete walkthrough of the AASA file itself and server configuration requirements, the Tolinku Universal Links documentation covers the server side in detail.
What to Check When Nothing Works
If you have followed every step and Universal Links still are not working, go through this checklist in order:
- Uninstall the app from the device completely.
- Verify the AASA file is live at
https://yourdomain.com/.well-known/apple-app-site-associationwith the correct content type. - Confirm the App ID in the Developer Portal has Associated Domains enabled.
- Regenerate and reinstall the provisioning profile.
- Clean the build folder in Xcode (Shift+Command+K).
- Rebuild and reinstall the app.
- Test with a link sent via iMessage or email (not typed into Safari's address bar, which does not trigger Universal Links).
- Check that the URL path matches a rule in your AASA file.
For a broader overview of Universal Links beyond the Xcode configuration, see our complete guide to Universal Links.
Most Universal Links failures come down to a mismatch between the server configuration and the app configuration, or a stale provisioning profile. Working through each layer systematically gets you to the root cause faster than changing multiple things at once.
Get deep linking tips in your inbox
One email per week. No spam.