Webhooks let your server receive real-time notifications when something happens with your deep links. Instead of polling an API to check for new clicks, installs, or conversions, the deep linking platform pushes that data to you the moment it occurs.
This guide walks through setting up a webhook endpoint from scratch, subscribing to events in Tolinku, handling payloads, and testing everything locally before going to production.
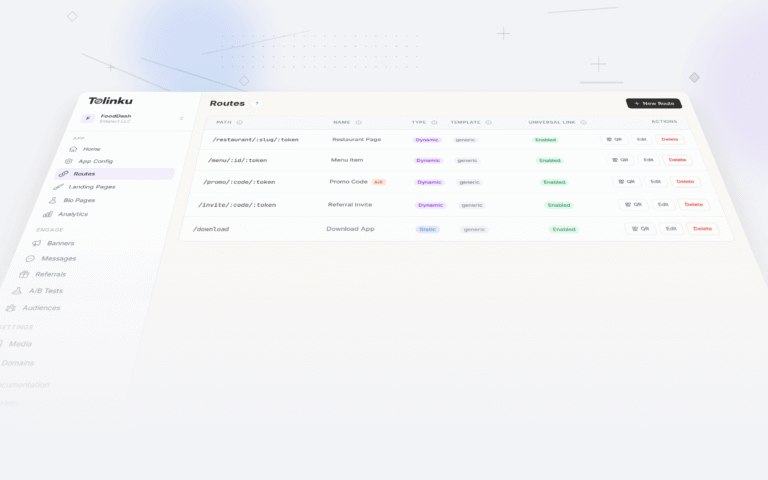
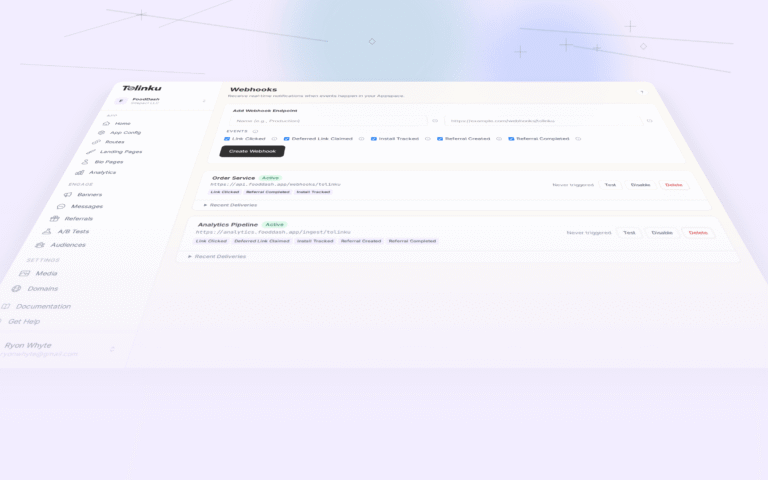
 The webhooks page with create form, webhook list, and delivery log.
What Webhooks Are (and Why They Matter for Deep Linking)
A webhook is an HTTP POST request that a server sends to your endpoint when an event occurs. Think of it as a reverse API call: instead of your app asking "did anything happen?", the platform tells you "this just happened."
For deep linking, webhooks solve a critical data flow problem. Deep link clicks happen on a server you don't control. A user taps a link, gets redirected through the deep linking service, and lands in your app. Without webhooks, your backend has no idea this happened until the app itself reports it. With webhooks, your server is notified the instant the link is clicked, before the app even opens.
Common deep link webhook events include:
- link.clicked: A user clicked a deep link
- deferred_link.claimed: The app claimed a deferred deep link after install
- install.tracked: The SDK reported a new app install
- referral.created: A new referral link was generated
- referral.completed: A referred user reached the reward milestone
These events let you trigger downstream actions: update a CRM record, fire a Slack notification, log to your analytics warehouse, or kick off an onboarding workflow. For a deeper look at how webhooks fit into the broader integration picture, see Webhooks and Integrations for Deep Linking.
Step 1: Create a Webhook Endpoint
Your webhook endpoint is just a regular HTTP route that accepts POST requests and returns a 200 status code. Here is a minimal example using Express and Node.js:
const express = require('express');
const app = express();

// Important: use raw body parsing for signature verification
app.use('/webhooks', express.raw({ type: 'application/json' }));

app.post('/webhooks/tolinku', (req, res) => {
  const payload = JSON.parse(req.body);

  console.log('Received webhook event:', payload.event);
  console.log('Event data:', JSON.stringify(payload.data, null, 2));

  // Always respond with 200 quickly
  res.status(200).json({ received: true });
});

app.listen(3000, () => {
  console.log('Webhook server listening on port 3000');
});
A few things to note here:
Use
express.raw()instead ofexpress.json()for the webhook route. You need the raw request body to verify the webhook signature later. Parsing JSON from the raw buffer is trivial; reconstructing the exact raw body from a parsed object is not.Respond with
200immediately. The deep linking platform expects a quick response. If your endpoint takes too long (typically over 5 seconds), the delivery is marked as failed and the platform will retry. Do your heavy processing asynchronously after sending the response.Use a dedicated path. Separating your webhook route (e.g.,
/webhooks/tolinku) from your regular API routes makes it easier to apply different middleware, logging, and security rules.Step 2: Subscribe to Events
Once your endpoint is deployed and publicly accessible, register it with Tolinku. You can do this through the Tolinku dashboard or the API.
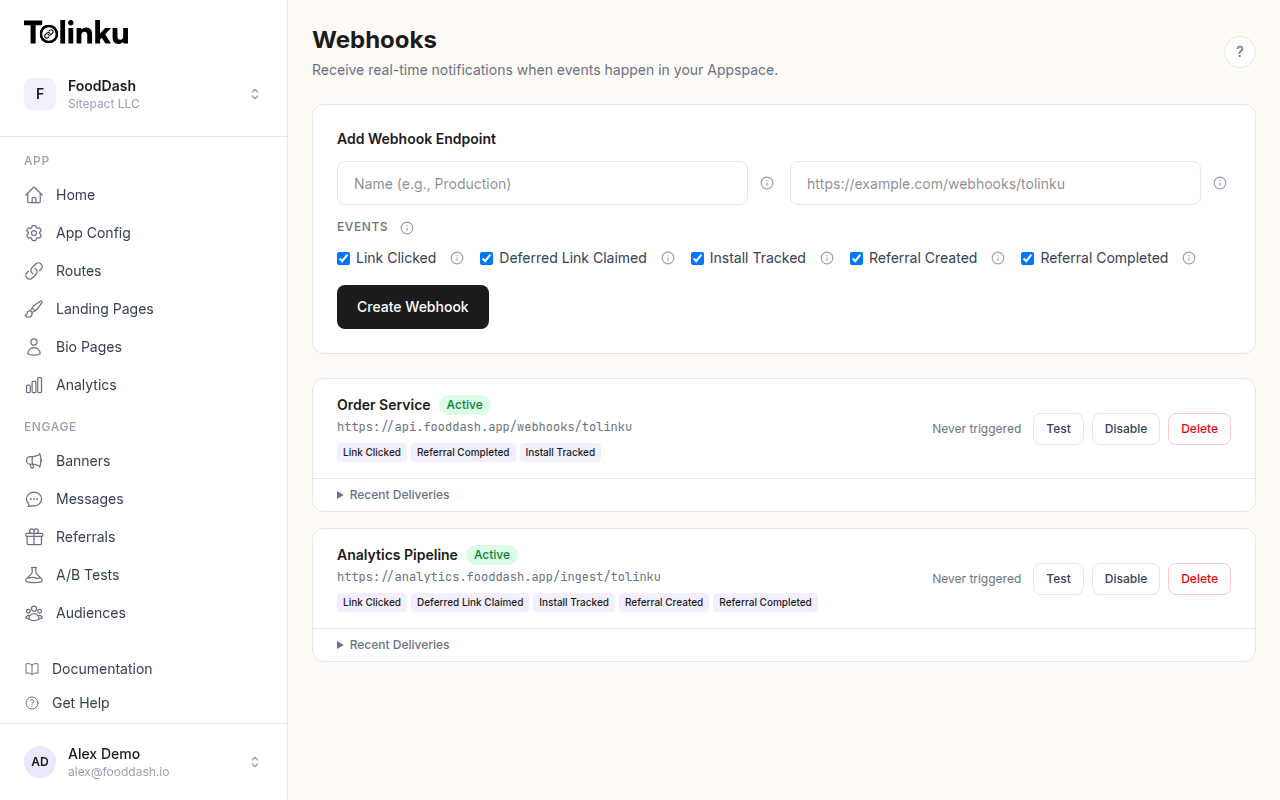
In the dashboard, navigate to your Appspace, open the Webhooks section, and fill in the create form:
- Name: A human-readable label (e.g., "Production event handler")
- URL: Your publicly accessible endpoint URL (e.g.,
https://api.yourapp.com/webhooks/tolinku) - Events: Select which event types you want to receive
To create a webhook via the API, send a POST request to the webhooks endpoint:
const response = await fetch('https://api.tolinku.com/v1/webhooks', {
  method: 'POST',
  headers: {
    'Authorization': 'Bearer tolk_sec_your_secret_key',
    'Content-Type': 'application/json',
  },
  body: JSON.stringify({
    name: 'Production event handler',
    url: 'https://api.yourapp.com/webhooks/tolinku',
    events: ['link.clicked', 'install.tracked', 'referral.completed'],
  }),
});

const webhook = await response.json();
console.log('Webhook created:', webhook.id);
console.log('Signing secret:', webhook.signingSecret);
Save the signing secret. You will need it to verify that incoming requests actually come from Tolinku and not from a malicious third party. Store it as an environment variable, never in your source code.
Step 3: Handle Webhook Payloads
Every webhook delivery follows the same envelope structure. Here is what a typical
link.clickedevent payload looks like:{ "event": "link.clicked", "timestamp": "2026-05-18T14:32:00.000Z", "data": { "prefix": "promo", "token": "summer-sale", "hostname": "links.yourapp.com", "ip": "203.0.113.42", "platform": "ios", "device_type": "mobile", "campaign": "summer2026" } }A production-ready handler should route events to different processing functions:
app.post('/webhooks/tolinku', (req, res) => {
  const payload = JSON.parse(req.body);

  // Respond immediately
  res.status(200).json({ received: true });

  // Process asynchronously
  processWebhookEvent(payload).catch((err) => {
    console.error('Webhook processing failed:', err);
  });
});

async function processWebhookEvent(payload) {
  switch (payload.event) {
    case 'link.clicked':
      await handleLinkClick(payload.data);
      break;
    case 'install.tracked':
      await handleInstall(payload.data);
      break;
    case 'referral.completed':
      await handleReferralCompleted(payload.data);
      break;
    default:
      console.log('Unhandled event type:', payload.event);
  }
}

async function handleLinkClick(data) {
  // Log to your analytics warehouse
  await analyticsDB.insert({
    event: 'deep_link_click',
    prefix: data.prefix,
    token: data.token,
    platform: data.platform,
    campaign: data.campaign,
    timestamp: new Date(),
  });
}

async function handleInstall(data) {
  // Notify the sales team about a new install
  await slack.send('#new-installs', {
    text: `New install on ${data.platform} from campaign: ${data.campaign}`,
  });
}

async function handleReferralCompleted(data) {
  // Issue reward to the referrer
  await rewardService.issueReward(data.referrer_id, {
    referral_code: data.referral_code,
    referred_user: data.referred_user_id,
  });
}
For a full list of available event types and their payload schemas, see the Webhook Event Types documentation.
Step 4: Verify Webhook Signatures
Never trust an incoming webhook request without verifying its signature. Tolinku signs every delivery using HMAC-SHA256 with the signing secret you received when creating the webhook. The signature is sent in the
X-Webhook-Signatureheader.const crypto = require('crypto'); function verifyWebhookSignature(rawBody, signature, secret) { const expected = crypto .createHmac('sha256', secret) .update(rawBody) .digest('hex'); // Use timingSafeEqual to prevent timing attacks const sig = Buffer.from(signature, 'hex'); const exp = Buffer.from(expected, 'hex'); if (sig.length !== exp.length) return false; return crypto.timingSafeEqual(sig, exp); } app.post('/webhooks/tolinku', (req, res) => { const signature = req.headers['x-webhook-signature']; const secret = process.env.TOLINKU_WEBHOOK_SECRET; if (!verifyWebhookSignature(req.body, signature, secret)) { console.warn('Invalid webhook signature'); return res.status(401).json({ error: 'Invalid signature' }); } const payload = JSON.parse(req.body); res.status(200).json({ received: true }); processWebhookEvent(payload).catch(console.error); });This is why Step 1 used
express.raw()instead ofexpress.json(). You need the original bytes of the request body to compute the HMAC. If Express parses the JSON first, you lose the exact byte sequence and the signature will never match.For more on webhook security best practices, including replay attack prevention, see Webhook Signing and Verification.
Step 5: Test Webhooks Locally
You can not receive webhooks on
localhostbecause Tolinku's servers cannot reach your local machine. There are two approaches for local testing.Using a Tunnel
Tools like ngrok or Cloudflare Tunnel expose your local server to the internet:
# Start your local server
node server.js

# In another terminal, start the tunnel
ngrok http 3000
ngrok gives you a public URL like
https://abc123.ngrok.io. Use that as your webhook URL in the Tolinku dashboard. Every request that hits the ngrok URL gets forwarded to your local server.Using the Tolinku Test Delivery
The Tolinku dashboard includes a test delivery feature that sends a sample event to your endpoint. This is useful for verifying that your endpoint is reachable and that signature verification works correctly. See the Webhook Testing and Deliveries guide for details.
Common Webhook Patterns
Idempotency
Webhook deliveries can be retried if your endpoint is temporarily unavailable or returns a non-2xx status code. This means you may receive the same event more than once. Your handler must be idempotent: processing the same event twice should produce the same result as processing it once.
The simplest approach is to track event IDs you have already processed:
const crypto = require('crypto');
const processedHashes = new Set(); // Use Redis or a database in production

async function processWebhookEvent(payload) {
  // Hash the payload for deduplication (the envelope does not include a unique ID)
  const hash = crypto.createHash('sha256').update(JSON.stringify(payload)).digest('hex');

  if (processedHashes.has(hash)) {
    console.log('Duplicate event, skipping');
    return;
  }

  processedHashes.add(hash);

  switch (payload.event) {
    case 'link.clicked':
      await handleLinkClick(payload.data);
      break;
    // ... other handlers
  }
}
In production, replace the in-memory
Setwith Redis usingSETNXand a TTL. A 24-hour TTL is usually sufficient since the retry window (1 minute, 5 minutes, 30 minutes) is much shorter than that.Error Handling and Retries
If your webhook handler throws an error, you still want to return
200to the deep linking platform (so it does not keep retrying), but you should log the failure and queue the event for reprocessing:app.post('/webhooks/tolinku', (req, res) => { // Verify signature first (omitted for brevity) const payload = JSON.parse(req.body); // Always return 200 res.status(200).json({ received: true }); processWebhookEvent(payload).catch(async (err) => { console.error('Processing failed for event:', payload.event, err); // Queue for retry using your preferred job queue await retryQueue.add('webhook-retry', { payload, attempt: 1, maxAttempts: 3, }); }); });This pattern gives you control over your own retry logic. You can use BullMQ, a database-backed job queue, or any other mechanism that fits your stack.
Filtering Events Server-Side
Even if you subscribe to multiple event types, you may want to ignore certain events based on their data. For example, only processing clicks from a specific campaign:
async function handleLinkClick(data) {
  // Only process clicks from paid campaigns
  if (!data.params?.campaign?.startsWith('paid_')) {
    return;
  }

  await analyticsDB.insert({
    event: 'paid_campaign_click',
    campaign: data.params.campaign,
    platform: data.platform,
    country: data.country,
    timestamp: new Date(),
  });
}
Monitoring Webhook Deliveries
Once your webhooks are live, monitor their health through the Tolinku dashboard. The webhooks list shows each endpoint's delivery status, making it easy to spot failures.
Watch for these warning signs:
- Repeated failures: Your endpoint may be down or returning errors. Check your server logs.
- High latency: If your endpoint takes too long to respond, consider offloading processing to a background queue.
- Signature mismatches: Usually means your signing secret is wrong or your body parsing middleware is modifying the raw request body before verification.
Putting It All Together
Here is a complete, production-ready webhook server that combines all the patterns from this guide:
const express = require('express');
const crypto = require('crypto');
const app = express();

app.use('/webhooks', express.raw({ type: 'application/json' }));

function verifySignature(rawBody, signature, secret) {
  const expected = crypto
    .createHmac('sha256', secret)
    .update(rawBody)
    .digest('hex');
  const sig = Buffer.from(signature, 'hex');
  const exp = Buffer.from(expected, 'hex');
  if (sig.length !== exp.length) return false;
  return crypto.timingSafeEqual(sig, exp);
}

app.post('/webhooks/tolinku', (req, res) => {
  const signature = req.headers['x-webhook-signature'];
  const secret = process.env.TOLINKU_WEBHOOK_SECRET;

  if (!verifySignature(req.body, signature, secret)) {
    return res.status(401).json({ error: 'Invalid signature' });
  }

  const payload = JSON.parse(req.body);
  res.status(200).json({ received: true });

  processEvent(payload).catch((err) => {
    console.error('Failed to process event:', payload.id, err);
  });
});

const processed = new Set();

async function processEvent(payload) {
  if (processed.has(payload.id)) return;
  processed.add(payload.id);

  switch (payload.event) {
    case 'link.clicked':
      console.log('Click on', payload.data.prefix + '/' + payload.data.token, 'from', payload.data.platform);
      break;
    case 'install.tracked':
      console.log('Install on', payload.data.platform, 'campaign:', payload.data.campaign);
      break;
    case 'referral.completed':
      console.log('Referral', payload.data.referral_code, 'completed');
      break;
    default:
      console.log('Unknown event:', payload.event);
  }
}

app.listen(process.env.PORT || 3000);
Next Steps
With your webhook endpoint running, you can build on this foundation:
- Explore all available webhook event types and subscribe to the ones relevant to your integration
- Implement webhook signature verification with replay attack protection using timestamps
- Connect webhook data to your analytics pipeline, CRM, or marketing automation tools
- Read the developer webhooks guide for advanced integration patterns
Webhooks turn your deep links from one-way redirects into a two-way data channel. Every click, install, and conversion becomes an actionable event in your backend, and you can respond to it in real time.
Get deep linking tips in your inbox
One email per week. No spam.