Clicks and installs tell you how many people engaged with your link. Custom events tell you what those people did after they arrived. Without event tracking, you can't distinguish between a link that drove 1,000 clicks and zero revenue and one that drove 100 clicks and $5,000 in purchases.
This guide covers how to set up custom event tracking for deep link campaigns so you can measure actual business outcomes, not just traffic.
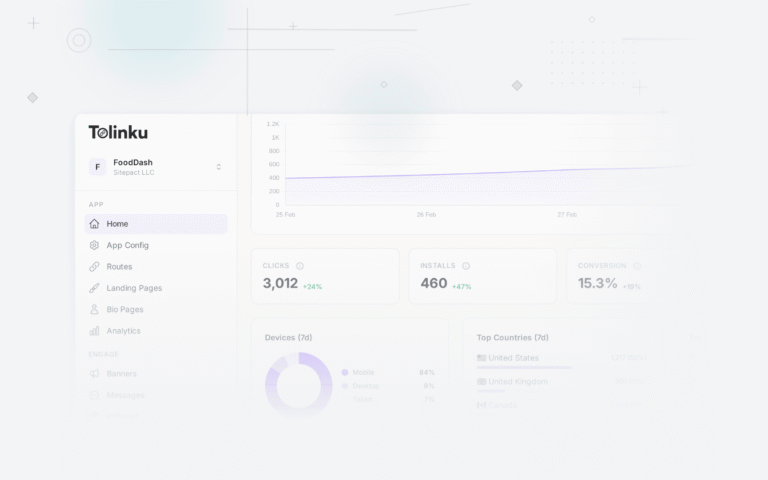
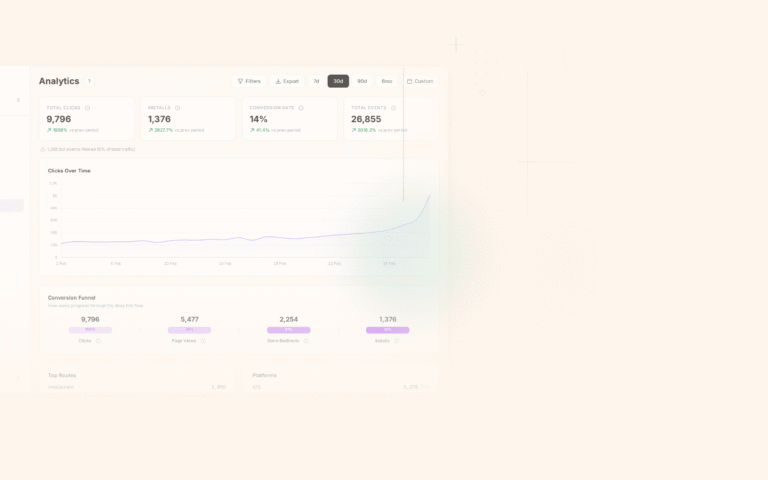
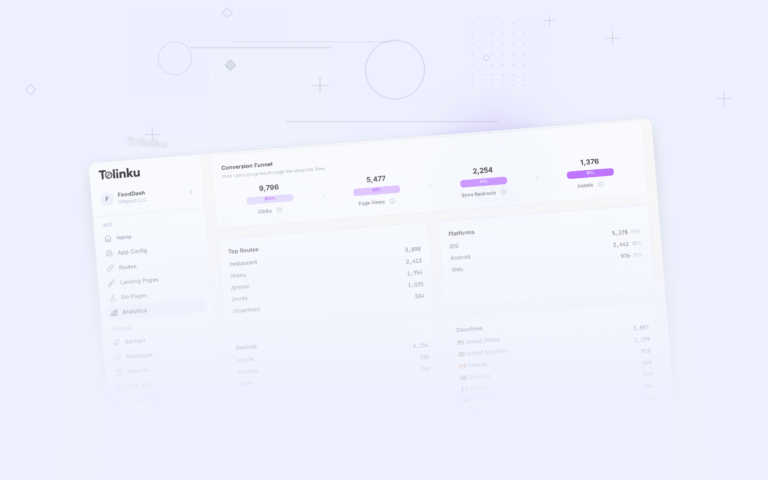
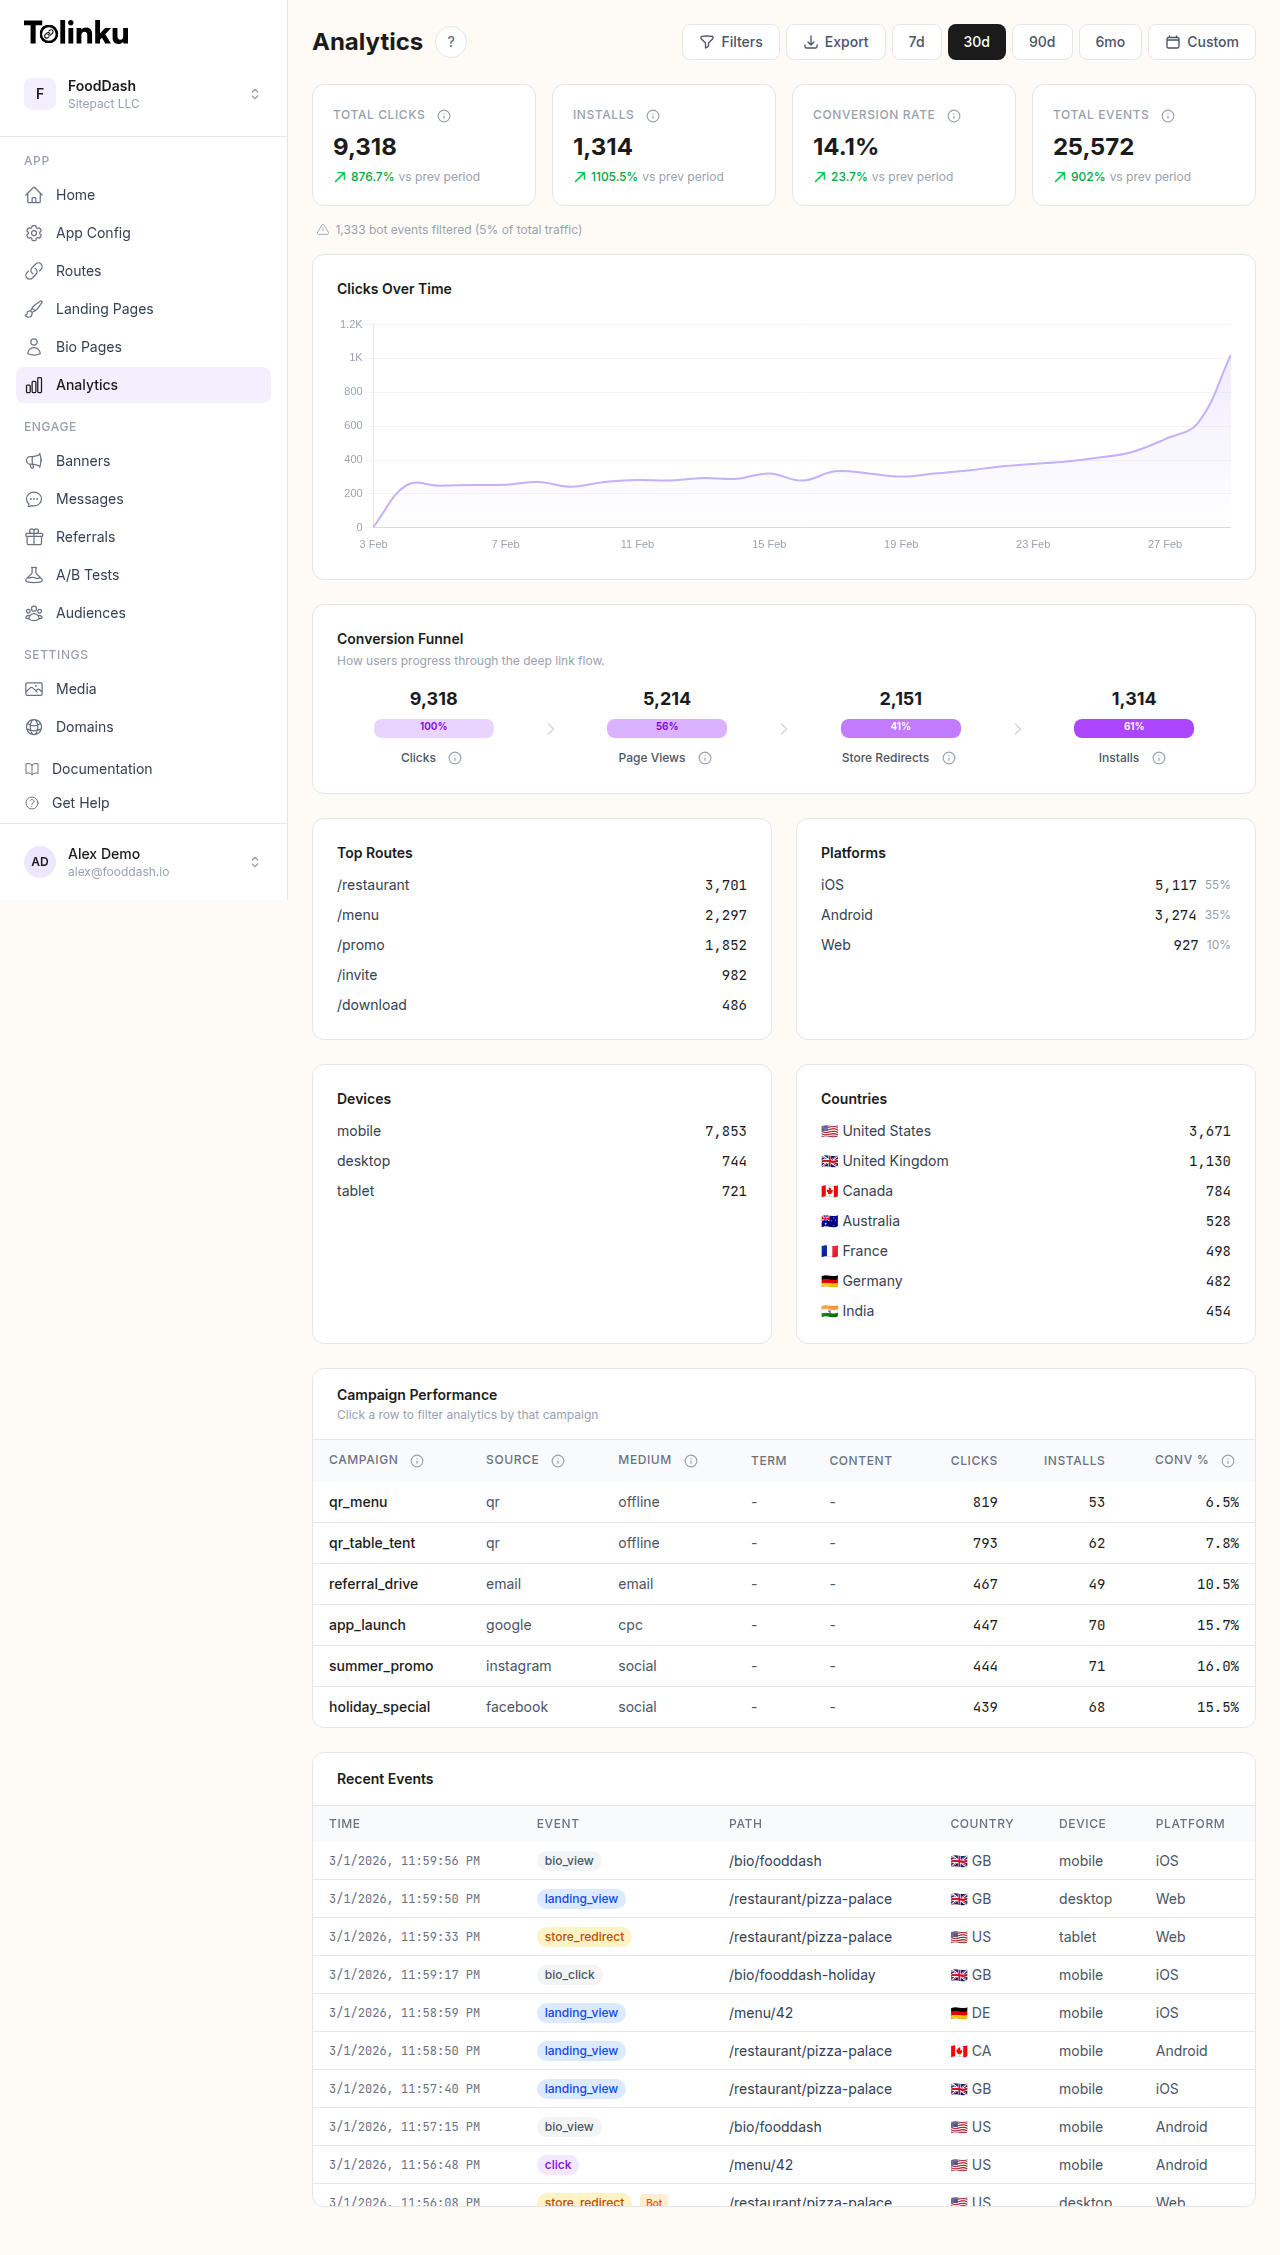 The analytics dashboard with date range selector, filters, charts, and breakdowns.
Why Custom Events Matter
Default deep link analytics give you:
- Click count
- Platform breakdown (iOS, Android, web)
- Geographic distribution
- Device type
These are useful but insufficient. They don't tell you:
- Did the user sign up after clicking?
- Did they make a purchase?
- What was the purchase value?
- Did they complete the onboarding flow?
- Did they return the next day?
Custom events bridge this gap by tracking specific actions that happen after the click, all attributed back to the original link.
Event Taxonomy
Before writing any tracking code, define your event taxonomy: the list of events you'll track, their names, and their properties.
Standard Event Categories
Acquisition events (user enters your product):
registration_complete: User created an accountapp_install: First app open after installonboarding_complete: User finished the onboarding flow
Activation events (user finds value):
first_purchase: User made their first purchasefirst_content_created: User created their first piece of contentfeature_activated: User tried a specific feature for the first time
Engagement events (user uses the product):
content_viewed: User viewed a specific piece of contentsearch_performed: User searched for somethingitem_added_to_cart: User added an item to their cartshare_initiated: User shared content from the app
Revenue events (user generates revenue):
purchase_complete: Transaction completedsubscription_started: User began a subscriptionin_app_purchase: User bought a virtual good or upgrade
Retention events (user returns):
session_start: User opened the app (with session number)streak_continued: User maintained a daily/weekly streak
Event Properties
Every event should include properties that provide context:
{
  "event": "purchase_complete",
  "properties": {
    "value": 29.99,
    "currency": "USD",
    "product_id": "premium_annual",
    "product_name": "Premium Annual Plan",
    "source_link_id": "summer-sale-2026",
    "campaign": "summer_promo",
    "channel": "email",
    "is_first_purchase": true
  }
}
The source_link_id and campaign properties tie the event back to the deep link that brought the user in. This is how you attribute revenue to specific links and campaigns.
Connecting Events to Deep Links
Preserving Link Context
When a user clicks a deep link and arrives in your app, the link's metadata (route ID, campaign parameters, UTM tags) needs to persist so that subsequent events can be attributed to that link.
For existing users (app already installed): The deep link handler receives the full URL with all parameters. Store the link context in the user's session.
For new users (deferred deep linking): The link context is preserved through the install process by your deep linking platform. On first app open, retrieve the deferred link data and store it in the user's session.
Attribution Window
Decide how long after a click you'll attribute events to that link:
- Session attribution: Only events within the same session as the click
- 7-day window: Events within 7 days of the click
- 30-day window: Events within 30 days of the click (common for purchases)
The right window depends on your product's typical conversion timeline. If users usually purchase within 2 days of clicking, a 7-day window captures most conversions without over-attributing.
Multi-Touch Attribution
Users often interact with multiple links before converting. A user might click a social media link, then an email link, then finally purchase. Which link gets credit?
Common models:
- Last-click: The last link clicked before conversion gets full credit (simplest, most common)
- First-click: The first link gets full credit (values discovery)
- Linear: Each link gets equal credit
- Time-decay: More recent links get more credit
For most apps, last-click attribution is a reasonable starting point. It's simple to implement and aligns with the most immediate driver of conversion.
Implementation Approaches
SDK-Based Tracking
If you use Tolinku's SDKs, the deep link context is automatically available when the app opens. You can pass this context along with custom events to your analytics backend.
iOS (Swift):
// When handling a deep link
func handleDeepLink(url: URL, parameters: [String: String]) {
    // Store link context for attribution
    AnalyticsManager.setAttributionSource(
        linkId: parameters["link_id"],
        campaign: parameters["campaign"],
        channel: parameters["channel"]
    )
}

// When tracking a custom event
AnalyticsManager.track("purchase_complete", properties: [
    "value": 29.99,
    "product_id": "premium_annual",
    // Attribution context is automatically attached
])
Android (Kotlin):
// When handling a deep link
fun handleDeepLink(uri: Uri, parameters: Map<String, String>) {
    AnalyticsManager.setAttributionSource(
        linkId = parameters["link_id"],
        campaign = parameters["campaign"],
        channel = parameters["channel"]
    )
}

// When tracking a custom event
AnalyticsManager.track("purchase_complete", mapOf(
    "value" to 29.99,
    "product_id" to "premium_annual"
))
Server-Side Tracking
For events that happen on your server (subscription renewals, backend-triggered actions), send events via your analytics API:
POST /v1/analytics/events
{
  "user_id": "user_123",
  "event": "subscription_renewed",
  "properties": {
    "plan": "premium",
    "value": 9.99,
    "period": "monthly"
  },
  "attribution": {
    "link_id": "onboarding-promo",
    "campaign": "new_user_trial",
    "original_click_at": "2026-04-10T14:30:00Z"
  }
}
Server-side tracking is more reliable than client-side because it's not affected by app crashes, SDK initialization timing, or network issues.
Hybrid Approach
Most apps use both:
- Client-side for user interaction events (screen views, button taps, content engagement)
- Server-side for business-critical events (purchases, subscription changes, account actions)
The server-side events serve as the source of truth for revenue attribution.
UTM Parameters and Campaign Tracking
UTM parameters provide campaign-level attribution for your deep links:
https://go.yourapp.com/summer-sale?utm_source=email&utm_medium=newsletter&utm_campaign=summer_promo_2026&utm_content=hero_banner
When the user clicks this link, the UTM values are captured and passed to your analytics. All subsequent events from this user (within the attribution window) carry these UTM values, letting you analyze performance by source, medium, campaign, and content.
Naming Conventions
Consistent naming is critical. Without it, "email" and "Email" and "EMAIL" become three separate sources in your reports.
Establish and document naming conventions:
- utm_source: Lowercase, no spaces (email, facebook, twitter, google)
- utm_medium: Lowercase (cpc, social, email, referral, push)
- utm_campaign: Lowercase with underscores (summer_sale_2026, new_user_promo)
- utm_content: Lowercase with underscores (hero_banner, sidebar_link, cta_button)
Analyzing Event Data
Funnel Analysis
Build funnels that show the path from click to conversion:
- Link Click (100%)
- App Open (72%)
- Product Viewed (45%)
- Added to Cart (18%)
- Purchase Complete (8%)
Each drop-off point reveals where to focus optimization. See Conversion Funnel Analysis for Deep Links for a detailed guide.
Cohort Analysis
Group users by the campaign or link that brought them in and track their behavior over time:
- Users from the "summer_sale" campaign: 12% purchase rate, $35 average order value
- Users from the "referral_program" campaign: 18% purchase rate, $42 average order value
- Users from the "social_organic" campaign: 6% purchase rate, $28 average order value
This tells you which campaigns attract the most valuable users, not just the most clicks.
Revenue Attribution
The ultimate question: how much revenue did each link or campaign generate?
Sum the revenue from all purchase events attributed to each link:
| Link/Campaign | Clicks | Purchases | Revenue | Revenue per Click |
|---|---|---|---|---|
| summer-sale-email | 5,200 | 312 | $8,736 | $1.68 |
| summer-sale-social | 12,400 | 248 | $5,952 | $0.48 |
| referral-invite | 800 | 144 | $5,040 | $6.30 |
Revenue per click is the key efficiency metric. The referral link drove the fewest clicks but the highest revenue per click.
Common Mistakes
Tracking too many events: Start with 5-10 core events, not 50. Each event should be tied to a decision you need to make. If you wouldn't change anything based on the event data, don't track it.
Inconsistent event naming: "PurchaseComplete," "purchase_complete," and "Purchase Complete" are three different events in your analytics. Standardize on one format.
Missing attribution context: Events without link/campaign attribution are useless for campaign analysis. Always attach the source link context to events.
No server-side validation: Client-side purchase events can be duplicated, missed, or fraudulent. Validate revenue events on the server.
Ignoring event properties: An event like "purchase_complete" without the purchase value, product ID, or user segment is almost useless. Always include relevant properties.
For a broader view of deep link analytics, see Deep Link Analytics: Measuring What Matters.
Get deep linking tips in your inbox
One email per week. No spam.