

QR codes use Reed-Solomon error correction to remain scannable even when part of the code is damaged, obscured, or covered by a logo. The error correction level determines how much of the QR code can be missing or corrupted before it becomes unscannable. Choosing the right level affects code size, scannability, and design flexibility.
For QR code design, see QR code design best practices for higher scan rates. For the complete guide, see QR codes and short links for mobile apps.
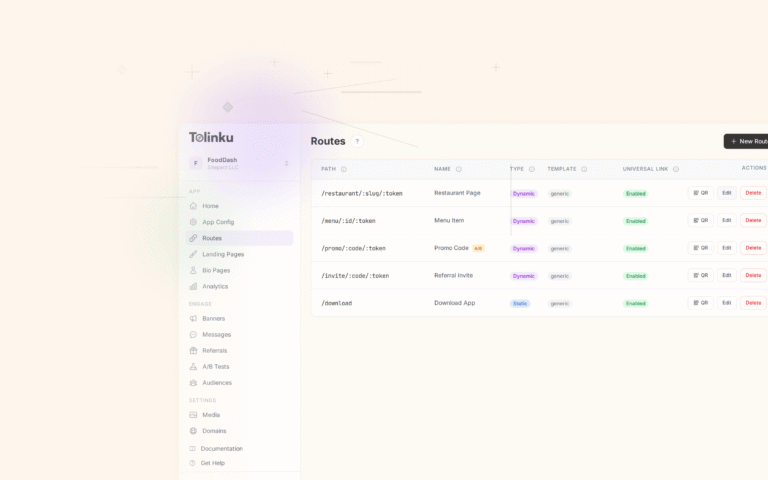
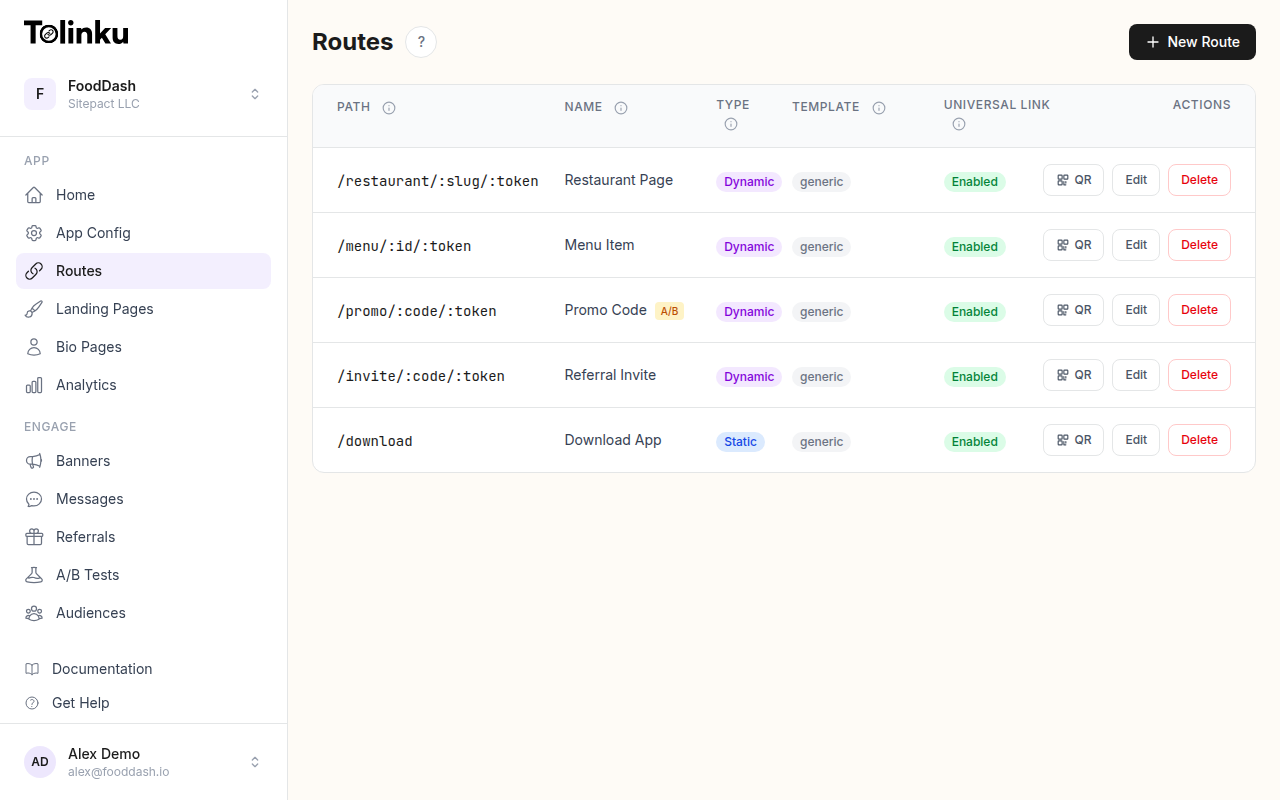 Tolinku route configuration with QR code generation for each deep link.
The Four Levels
The QR code specification (ISO/IEC 18004) defines four error correction levels:
| Level | Recovery Capacity | Data Overhead | Best For |
|---|---|---|---|
| L (Low) | ~7% | Lowest | Digital screens, controlled environments |
| M (Medium) | ~15% | Moderate | General print, standard use |
| Q (Quartile) | ~25% | High | Outdoor use, rough handling |
| H (High) | ~30% | Highest | Logo embedding, harsh environments |
"Recovery capacity" means the percentage of the QR code's data modules that can be damaged or missing while the code remains scannable.
How Error Correction Works
A QR code stores data in a grid of black and white modules (squares). The total number of modules depends on the QR code version (1-40, where version 1 is 21×21 modules and version 40 is 177×177 modules).
Error correction adds redundant data modules. These redundant modules allow the scanner to reconstruct the original data even when some modules are unreadable.
The Trade-Off
Higher error correction means:
- More resilience: The code works even when damaged.
- More modules: The code needs more space to encode the same data.
- Larger QR code: At the same physical size, modules are smaller and harder to scan.
Example for a URL with 50 characters:
| Level | Version | Modules | Relative Size |
|---|---|---|---|
| L | 3 (29×29) | 841 | Smallest |
| M | 4 (33×33) | 1,089 | +29% |
| Q | 5 (37×37) | 1,369 | +63% |
| H | 5 (37×37) | 1,369 | +63% |
The jump from L to H can increase the QR code complexity by 50-100%, depending on the data length.
Choosing the Right Level
Level L: Digital Screens
Use Level L when:
- The QR code is displayed on a screen (phone, monitor, TV).
- The display quality is high (no pixelation, no glare).
- The environment is controlled (indoor, good lighting).
- You want the smallest possible QR code.
Level L is appropriate for:
- App-to-app sharing (one phone screen to another phone camera).
- Digital presentations on high-resolution displays.
- Websites and emails.
Level M: General Print
Use Level M (the default for most generators) when:
- The QR code is printed on paper, cardboard, or plastic.
- Standard print quality (laser or inkjet).
- Indoor use with normal handling.
- No logo overlay.
Level M is appropriate for:
- Business cards.
- Brochures and flyers.
- Product packaging (standard materials).
- Receipts.
Level Q: Outdoor and Rough Handling
Use Level Q when:
- The QR code may be partially obscured (dirt, wear, folding).
- Outdoor use (weather exposure).
- The print medium has quality limitations (newsprint, low-resolution flexography).
- The code will be handled roughly (shipping labels, warehouse tags).
Level Q is appropriate for:
- Outdoor signage.
- Shipping labels.
- Floor stickers.
- Construction site materials.
Level H: Logo Embedding
Use Level H when:
- You want to place a logo or image in the center of the QR code.
- The QR code will be printed on unreliable surfaces (textured, curved, or reflective).
- Maximum resilience is needed.
Level H is the only level that reliably supports logo embedding, because the logo covers approximately 10-15% of the code area, and the 30% error correction budget provides sufficient margin.
Logo Embedding
Adding a brand logo to the center of a QR code is the most common reason for choosing Level H.
How Much Can You Cover?
Level H recovers from up to 30% data loss. However, the logo also covers finder patterns and timing patterns, which cannot be recovered. Practical guidelines:
| Logo Size (% of QR area) | Level H Reliability |
|---|---|
| 5-10% | Very reliable |
| 10-15% | Reliable (recommended maximum) |
| 15-20% | Risky; test thoroughly |
| 20%+ | Likely unscannable |
Logo Shape
- Square or circle: These shapes cover the minimum area for their visual impact.
- Rectangular: Covers more area for the same visual size; less efficient.
- Transparent background: Reduces the effective coverage (only opaque areas matter).
Best Practices for Logo QR Codes
- Generate the QR code at Level H.
- Place the logo in the exact center (over the alignment pattern, which is less critical than finder patterns).
- Add a small white border around the logo (2-3 module widths) to prevent the logo edges from merging with adjacent modules.
- Test the final QR code on at least 5 different phone models.
- Test at the smallest physical size you plan to use.
- Test in the worst lighting conditions you expect.
Error Correction and URL Length
Shorter URLs produce smaller QR codes. This matters more at higher error correction levels because the overhead is proportionally larger.
| URL Length | Level L Modules | Level H Modules | Difference |
|---|---|---|---|
| 20 chars | 21×21 (v1) | 25×25 (v2) | +42% |
| 50 chars | 29×29 (v3) | 37×37 (v5) | +63% |
| 100 chars | 37×37 (v5) | 49×49 (v8) | +75% |
| 200 chars | 53×53 (v9) | 69×69 (v13) | +70% |
This is why short links are recommended for QR codes. A URL like https://tolk.ink/abc produces a much simpler QR code than https://yourdomain.com/products/summer-collection-2026?utm_source=print&utm_medium=flyer.
Testing Error Correction
Damage Simulation
To verify that your error correction level is sufficient:
- Print the QR code.
- Cover parts of it with tape, stickers, or marker (simulating damage).
- Try scanning with multiple phones.
- Note the point at which scanning fails.
Environmental Testing
Test in conditions matching your use case:
| Environment | Test Method |
|---|---|
| Outdoor rain | Spray water on the printed code |
| Direct sunlight | Test in bright sunlight (glare) |
| Low light | Test in dim indoor lighting |
| Distance | Test at maximum expected scan distance |
| Curved surface | Attach to a bottle or curved package |
Common Mistakes
| Mistake | Impact | Fix |
|---|---|---|
| Using Level L for print | Fails with minor print defects | Use Level M or higher for print |
| Using Level H unnecessarily | Larger QR code than needed | Only use H for logo embedding or harsh environments |
| Logo covers too much area | Unscannable | Keep logo under 15% of QR area |
| Not testing with a logo | Works in generator but not in print | Test printed versions on multiple phones |
| Long URL with Level H | Extremely complex QR code | Use a short link to reduce data |
Tolinku for QR Codes
Tolinku generates QR codes with configurable error correction levels. Short link URLs from Tolinku produce simpler QR codes that scan more reliably at any error correction level.
For UTM tracking with short links, see UTM parameters with short links: campaign tracking guide. For the complete guide, see QR codes and short links for mobile apps.
Get deep linking tips in your inbox
One email per week. No spam.