This tutorial walks through building working deferred deep links with Tolinku from start to finish. By the end, you'll have a deferred link that routes users to a specific in-app destination after a fresh install, with attribution data in your Tolinku dashboard.
Prerequisites:
- A Tolinku account (free tier is enough for this tutorial)
- A mobile app project (iOS, Android, React Native, or Flutter)
- Basic familiarity with your mobile development environment
If you want a conceptual overview before the implementation steps, read how deferred deep linking works first.
Step 1: Create an Appspace
In Tolinku, each app gets its own Appspace. An Appspace holds your routes, links, banners, analytics, and team settings.
- Log into your Tolinku dashboard at app.tolinku.com.
- Click "New Appspace."
- Enter your app name and your bundle identifier (iOS:
com.yourcompany.yourapp, Android: same or your app's application ID). - Enter the domain you want to use for your deep links. This will be the domain in your deferred links (e.g.,
links.yourapp.com). You can also use a Tolinku subdomain during development. - Click "Create Appspace."
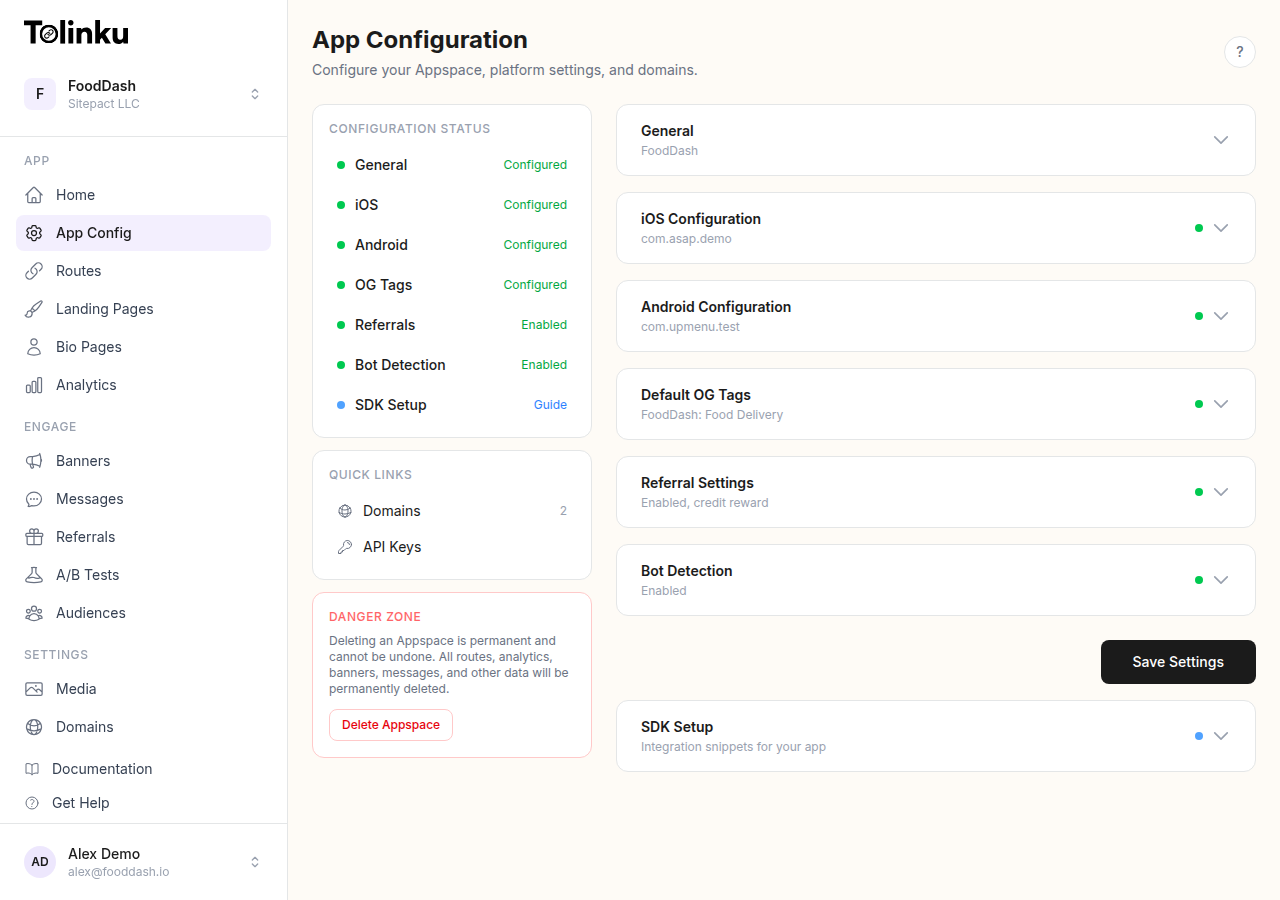
You'll land on the Appspace dashboard. Keep this tab open; you'll need the Appspace ID in a moment.
Step 2: Configure Your Domain
Your deferred links need a domain that's associated with your app for Universal Links (iOS) and App Links (Android) to work.
iOS: Associated Domains
In your Xcode project:
- Open your project target settings and go to the "Signing & Capabilities" tab.
- Click "+ Capability" and add "Associated Domains."
- Add your Tolinku domain:
applinks:links.yourapp.com
Tolinku automatically serves the Apple App Site Association (AASA) file at https://links.yourapp.com/.well-known/apple-app-site-association. You don't need to host this file yourself.
If you're using a custom domain, verify in the Tolinku dashboard that your domain's DNS is pointing to Tolinku's servers and that the SSL certificate has been issued before proceeding.
Android: App Links
In your AndroidManifest.xml, add an intent filter to the Activity that should handle deep links:
<activity android:name=".MainActivity">
    <intent-filter android:autoVerify="true">
        <action android:name="android.intent.action.VIEW" />
        <category android:name="android.intent.category.DEFAULT" />
        <category android:name="android.intent.category.BROWSABLE" />
        <data
            android:scheme="https"
            android:host="links.yourapp.com" />
    </intent-filter>
</activity>
Tolinku automatically serves the Digital Asset Links file at https://links.yourapp.com/.well-known/assetlinks.json. Set your SHA-256 certificate fingerprint in the Tolinku dashboard under "Android Configuration."
To get your SHA-256 fingerprint for debug builds:
keytool -list -v -keystore ~/.android/debug.keystore -alias androiddebugkey -storepass android -keypass android
Add both your debug and release fingerprints to the dashboard.
Step 3: Install the Tolinku SDK
iOS (Swift Package Manager)
In Xcode, go to File > Add Package Dependencies. Enter:
https://github.com/tolinku/ios-sdk
Select the latest version and add TolinkuSDK to your app target.
Android (Gradle)
Add the Tolinku SDK to your build.gradle (app module):
dependencies {
    implementation("com.tolinku:sdk:latest.release")
}
React Native
npm install @tolinku/react-native-sdk
For iOS, run pod install after installing the package.
Flutter
dependencies:
  tolinku: ^1.0.0
Run flutter pub get after adding the dependency.
Full platform-specific setup is in the Tolinku SDK documentation.
Step 4: Initialize the SDK
Initialize the SDK at app launch. Pass your Tolinku publishable key (tolk_pub_...), which you'll find in the Appspace settings under "API Keys."
iOS
In your AppDelegate.swift or App.swift:
import TolinkuSDK

@main
struct YourApp: App {
    init() {
        Tolinku.shared.configure(publishableKey: "tolk_pub_YOUR_KEY_HERE")
    }

    var body: some Scene {
        WindowGroup {
            ContentView()
        }
    }
}
For apps using AppDelegate:
func application(_ application: UIApplication,
                 didFinishLaunchingWithOptions launchOptions: [UIApplication.LaunchOptionsKey: Any]?) -> Bool {
    Tolinku.shared.configure(publishableKey: "tolk_pub_YOUR_KEY_HERE")
    return true
}
Android
In your Application class:
class MyApplication : Application() {
    override fun onCreate() {
        super.onCreate()
        Tolinku.configure(this, publishableKey = "tolk_pub_YOUR_KEY_HERE")
    }
}
Register your Application class in AndroidManifest.xml:
<application
    android:name=".MyApplication"
    ...>
React Native
In your root component (App.tsx or index.js):
import { Tolinku } from '@tolinku/react-native-sdk';

Tolinku.configure({ publishableKey: 'tolk_pub_YOUR_KEY_HERE' });
Step 5: Handle the Deferred Link Callback
The SDK fires a callback on first launch when a deferred link match is found. Register this handler before your app renders its initial route.
iOS
Tolinku.shared.onDeferredLink { params in
    DispatchQueue.main.async {
        guard let destination = params["destination"] else { return }
        // Use your app's navigation system to route to `destination`
        NavigationManager.shared.navigate(to: destination, params: params)
    }
}
Android
Tolinku.onDeferredLink { params ->
    val destination = params["destination"] ?: return@onDeferredLink
    runOnUiThread {
        NavigationManager.navigate(destination, params)
    }
}
React Native
import { Tolinku } from '@tolinku/react-native-sdk';

useEffect(() => {
    Tolinku.onDeferredLink((params) => {
        const destination = params.destination;
        if (destination) {
            navigation.navigate(destination, params);
        }
    });
}, []);
Important: Register the callback before the app renders the first screen. If you register it after navigation has already rendered, you may miss the callback on first launch.

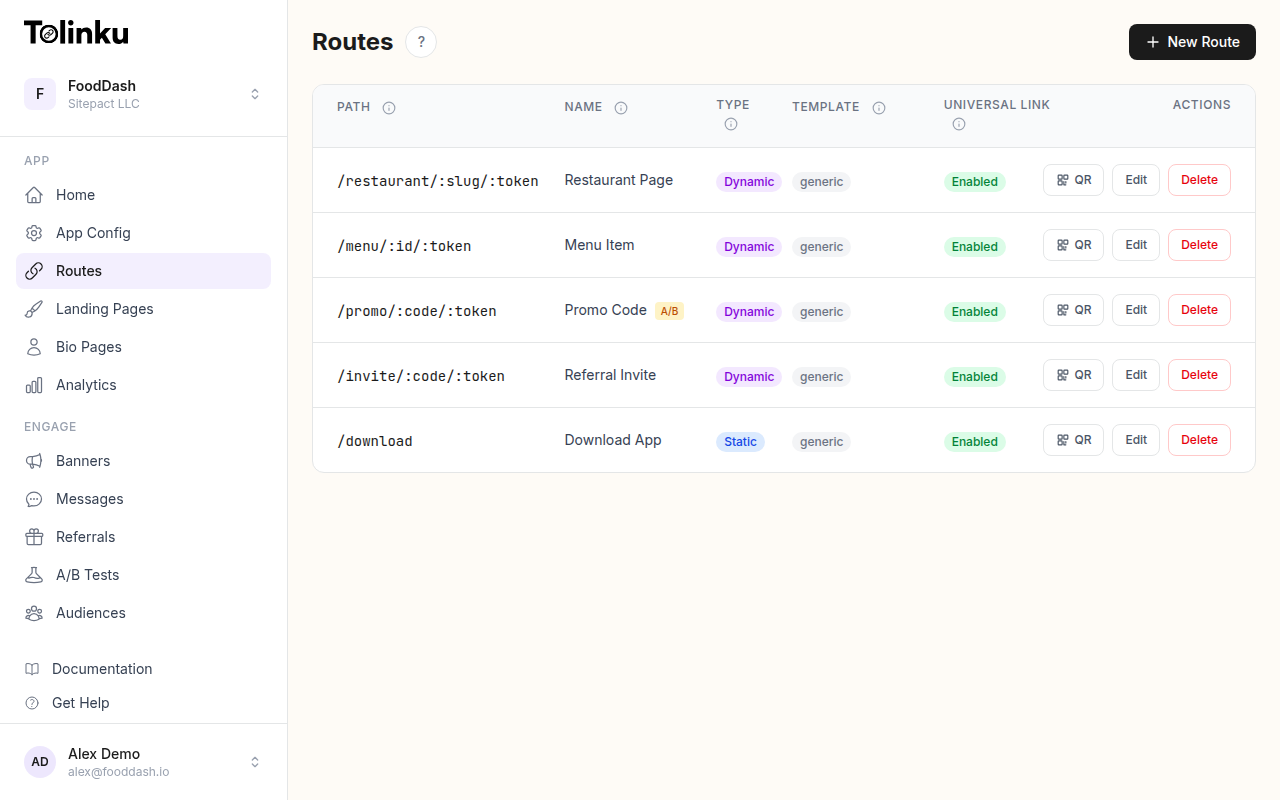
Step 6: Configure a Route in the Dashboard
Routes in Tolinku define what paths your links can target and how they map to in-app destinations.
- In your Appspace dashboard, go to "Routes."
- Click "New Route."
- Enter a path pattern. For a product page, this might be
/product/:id. For a sale,/sale/:slug. - Configure the fallback behavior: what URL should users see if the app isn't installed (e.g., the web version of the page, or the App Store).
- Save the route.
Routes support path parameters (:id), which are captured and passed to the app as part of the deferred link parameters.
Step 7: Create a Deferred Link
Now create an actual link that uses your route.
Via the Dashboard
- Go to "Links" in your Appspace.
- Click "New Link."
- Enter the destination path (e.g.,
/product/abc123). - Add any custom parameters (UTM tags, referral codes, etc.).
- Set the iOS and Android fallback URLs.
- Click "Create Link."
Your link is now live. Copy the link URL for testing.
Via the API
You can also create links programmatically using the Tolinku API:
curl -X POST https://app.tolinku.com/v1/links \
  -H "Authorization: Bearer tolk_sec_YOUR_SECRET_KEY" \
  -H "Content-Type: application/json" \
  -d '{
    "appspaceId": "your-appspace-id",
    "destination": "/product/abc123",
    "parameters": {
      "campaign": "spring_2026",
      "referrer": "email_newsletter"
    },
    "fallback": {
      "ios": "https://apps.apple.com/app/your-app-id",
      "android": "https://play.google.com/store/apps/details?id=com.yourapp"
    }
  }'
The API returns the link URL and a short link URL. Both work for deferred linking.
Step 8: Test the Integration
Testing deferred deep links requires a physical device and a TestFlight (iOS) or Internal App Sharing (Android) build, since you need to simulate a real store install.
Quick test flow:
- Uninstall the app from your test device.
- Open your deferred link in Safari (iOS) or Chrome (Android).
- Confirm the correct app store page opens.
- Install the app.
- Launch the app.
- Verify the deferred link callback fires with the correct
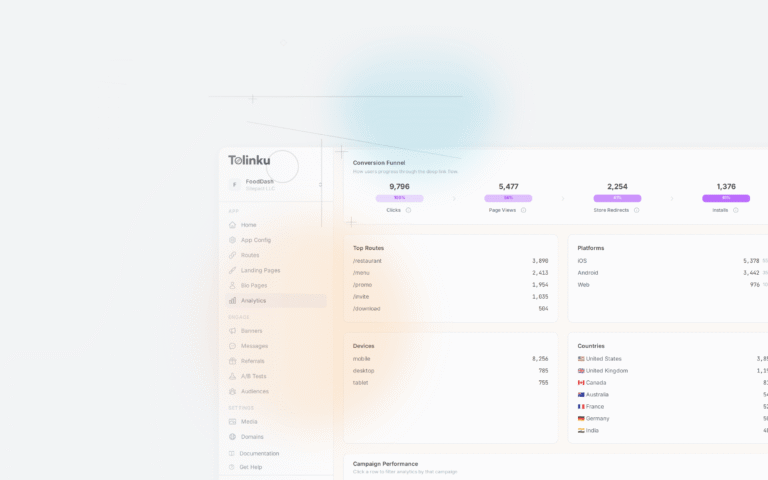
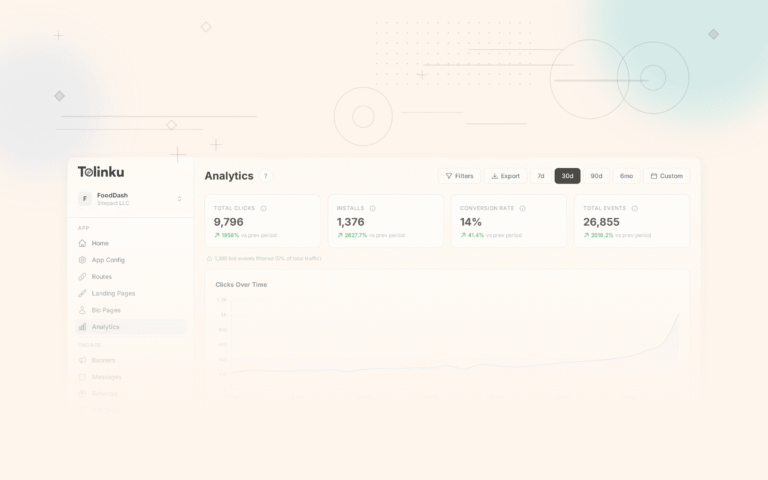
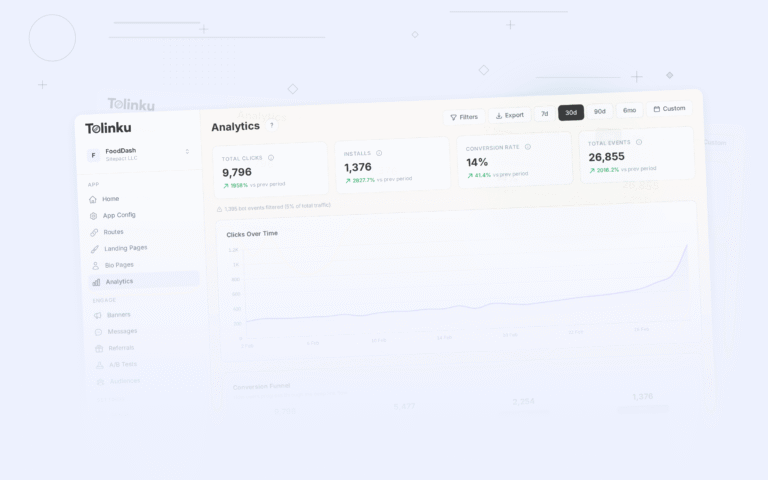
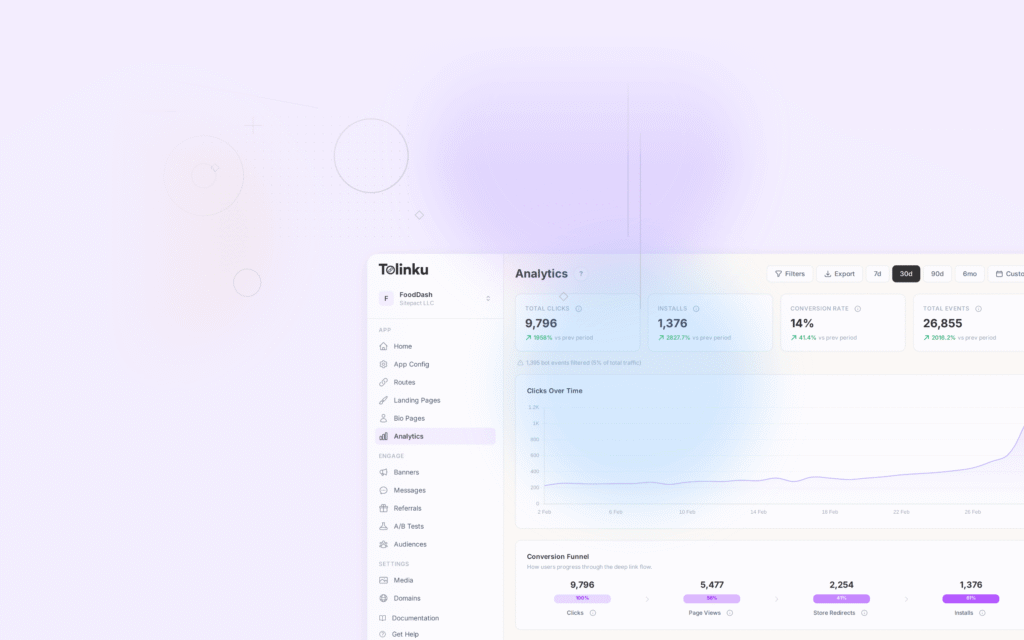
destinationparameter. - Check the Tolinku dashboard "Analytics" tab and confirm the click and install events are recorded.
For detailed testing steps, edge cases (ATT denied, in-app browsers, slow networks), and debugging tips, see how to test deferred deep links.
The dashboard should show:
- A click event at the time you opened the link
- An install event with the attribution match
- The match method (deterministic or probabilistic)
- The destination parameter delivered to the app
If the click event is missing, check that your link URL is correct and that the Tolinku SDK is initialized before the link is opened (this matters for same-device testing scenarios).
If the install is missing, verify your bundle identifier in the Appspace settings matches the bundle ID in your app.
Step 9: Go Live
Once testing is complete:
- Submit your app: Include the Tolinku SDK in your production build. Ensure the Associated Domains entitlement (iOS) and intent filters (Android) are configured for your production domain.
- Verify the AASA and assetlinks files: Before submitting to the App Store or Play Store, verify that both verification files are accessible at the correct URLs. Use Apple's AASA validator and the Digital Asset Links validator for Android.
- Set up your production API keys: Your
tolk_pub_key is safe to include in your app. Yourtolk_sec_key stays server-side only. - Configure analytics and webhooks: In the dashboard, set up webhook endpoints to receive attribution events server-side. This lets you trigger backend logic (apply referral credits, send welcome emails) when a deferred link is matched.
What's Next
With deferred links working, you can build more sophisticated patterns:
- A/B test your deferred link destinations: Use Tolinku's A/B testing to experiment with different post-install screens and measure which converts better.
- Referral programs: Embed a referrer ID in the link and apply credit automatically on first launch.
- Campaign tracking: Add UTM parameters to all your acquisition links and track performance by campaign in the analytics dashboard.
- Smart banners: Add smart banners to your web pages to drive app installs with deferred link context preserved.
For the full range of things you can build with deferred links, see 15 deferred deep linking use cases.
Summary
Building deferred deep links with Tolinku involves five core steps: creating an Appspace, configuring your domain, installing the SDK, handling the deferred link callback, and creating links. Testing requires a real device and a store install flow, but once the integration is working, you can build all of your acquisition and activation linking on top of the same foundation.
The Tolinku developer documentation covers all SDK methods and API endpoints in full detail.
Get deep linking tips in your inbox
One email per week. No spam.