Not every team has engineers available to build custom webhook integrations. Zapier bridges that gap: you give it a webhook URL, point your deep link events at it, and Zapier handles the rest. No servers, no deployment, no code.
This guide walks through connecting Tolinku webhooks to Zapier, from setting up the trigger to building useful automations for marketing, sales, and product teams. If you haven't configured webhooks yet, start with the webhook setup guide.
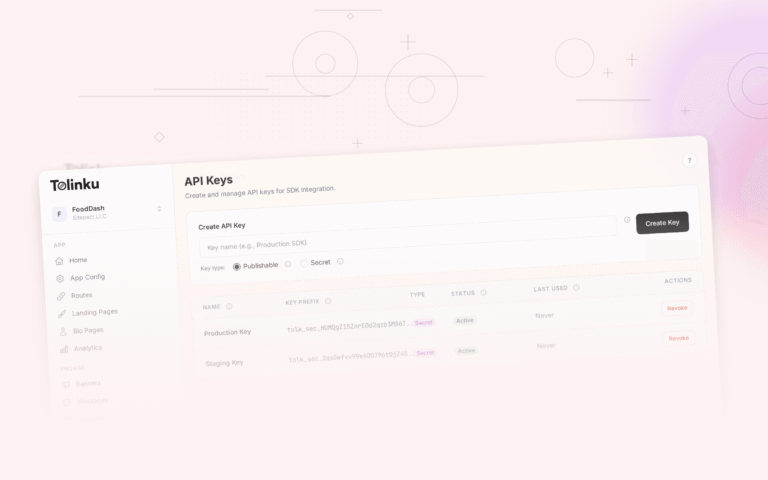
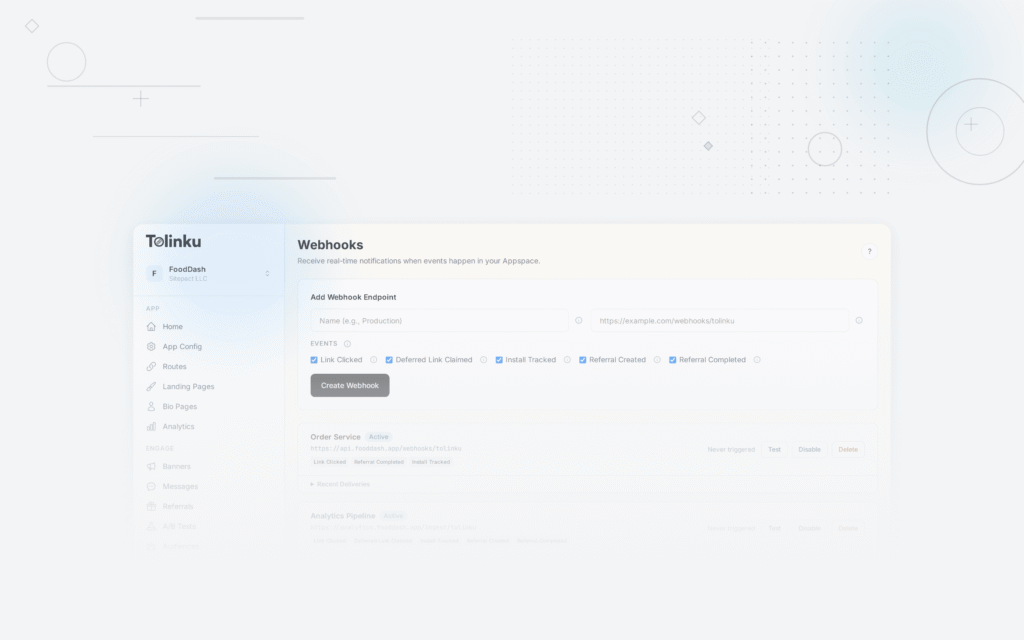
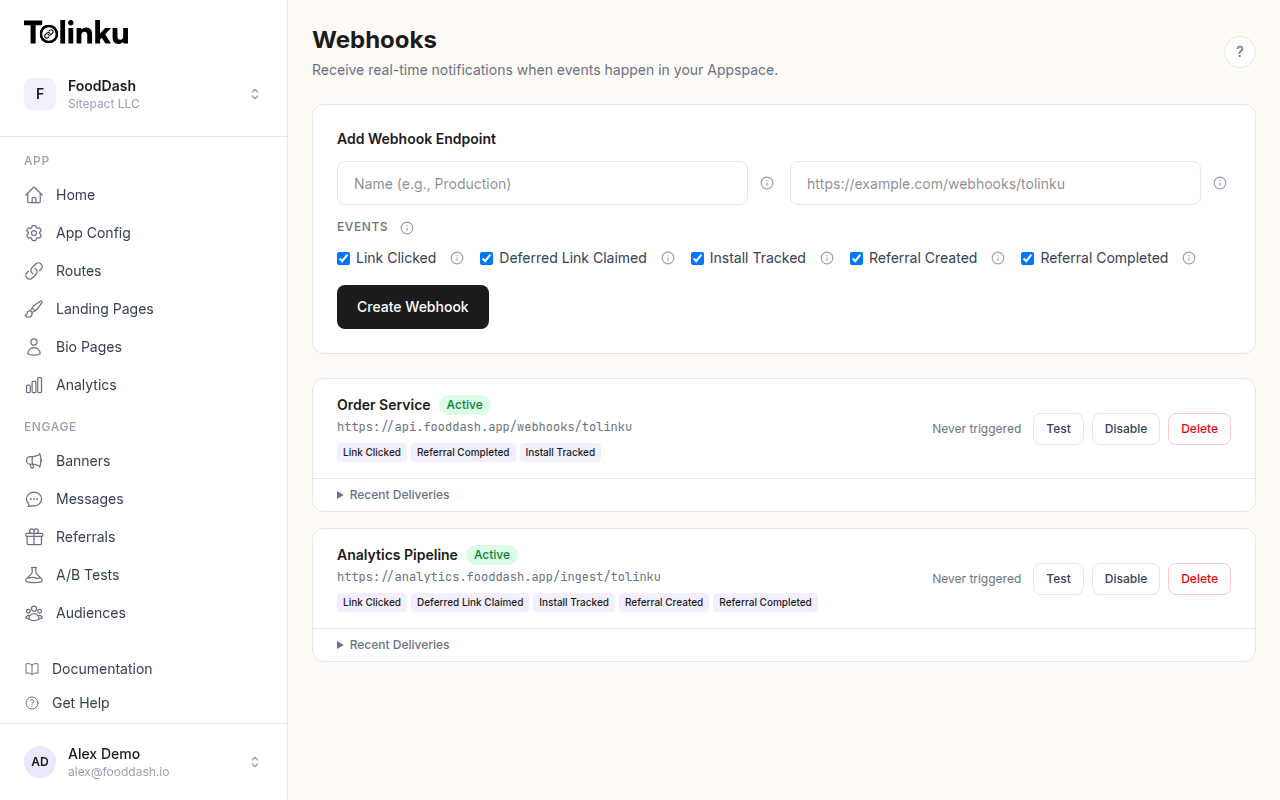 The webhooks page with create form, webhook list, and delivery log.
How It Works
The flow is straightforward:
- Create a Zap in Zapier with "Webhooks by Zapier" as the trigger
- Copy the webhook URL that Zapier generates
- Add that URL as a webhook endpoint in your Tolinku Appspace
- Select which events to subscribe to
- Configure the Zap's action steps (send an email, update a spreadsheet, post to Slack, etc.)
Tolinku sends a POST request to Zapier's URL every time a matching event occurs. Zapier parses the JSON payload and makes the data available to downstream action steps.
Step 1: Create the Zapier Trigger
- Log into Zapier and click "Create Zap"
- For the trigger app, search for "Webhooks by Zapier"
- Select "Catch Hook" as the trigger event
- Zapier will generate a unique webhook URL. Copy it. It looks like:
https://hooks.zapier.com/hooks/catch/123456/abcdef/
Do not close this tab yet. Zapier needs to receive a test webhook before you can configure the action steps.
Step 2: Configure the Tolinku Webhook
- Open your Appspace in the Tolinku dashboard
- Navigate to Webhooks in the sidebar
- Click Add Webhook
- Enter a name (e.g., "Zapier – All Events" or "Zapier – Installs Only")
- Paste the Zapier webhook URL
- Select the events you want to send. The available events are:
link.clicked: When someone taps a deep linkdeferred_link.claimed: When a deferred link is resolved after installinstall.tracked: When an app install is attributedreferral.created: When a new referral is registeredreferral.completed: When a referred user completes the required action
For a Zapier integration, you'll typically want to subscribe to specific events rather than all of them. Each Zap works best when it handles one event type, so you can tailor the automation to that event's data shape.
Step 3: Send a Test Event
Use the Test button on your webhook in the Tolinku dashboard. This sends a test payload to Zapier so it can detect the data structure.
The test payload looks like:
{
  "event": "test",
  "timestamp": "2026-05-20T10:00:00.000Z",
  "data": {
    "message": "This is a test webhook from Tolinku.",
    "webhook_id": "wh_abc123",
    "appspace_id": "as_xyz789"
  }
}
After sending the test, go back to the Zapier tab and click "Test trigger." Zapier should find the test event and display the parsed fields:
event,timestamp, and the nesteddataobject.For a more realistic test, trigger an actual event by clicking one of your deep links. This gives Zapier a real
link.clickedpayload with all the fields your automation will use.Step 4: Build the Action
This is where Zapier's power shows up. You can connect the webhook data to any of Zapier's 6,000+ app integrations. Here are the most common patterns for deep link events.
Pattern 1: Log Events to Google Sheets
Good for: Marketing teams who want a simple event log without touching a database.
- Add a Google Sheets action: "Create Spreadsheet Row"
- Select your spreadsheet and worksheet
- Map the fields:
- Column A (Event):
event - Column B (Timestamp):
timestamp - Column C (Platform):
data.platform - Column D (Campaign):
data.campaign - Column E (Token):
data.token
Every webhook event becomes a new row. This gives you a live event feed you can filter, chart, and share.
Pattern 2: Slack Notification on Install
Good for: Startup teams who want to celebrate every new install in real time.
- Add a Slack action: "Send Channel Message"
- Select the channel (e.g., #growth or #wins)
- Compose the message using webhook data:
New install tracked!
Platform: {{data.platform}}
Device: {{data.device_type}}
Campaign: {{data.campaign}}
Time: {{timestamp}}
Filter the Zap to only trigger on
install.trackedevents. You can do this with a Zapier Filter step: "Only continue ifeventexactly matchesinstall.tracked."Pattern 3: CRM Update on Referral
Good for: Sales teams tracking referral-driven signups.
- Add a Filter step: Only continue if
eventexactly matchesreferral.completed - Add a HubSpot (or Salesforce) action: "Create or Update Contact"
- Map the referral data to CRM fields
This automatically creates a CRM record when a referred user completes their signup or first purchase.
Pattern 4: Email Alert on High-Value Events
Good for: Product managers who want to know when specific campaigns drive conversions.
- Add a Filter step: Only continue if
eventexactly matchesreferral.completed - Add a Gmail or email action: "Send Email"
- Compose with event context:
Subject: Referral Completed - {{data.token}}

A referred user completed the required action.

Timestamp: {{timestamp}}
Details: {{data}}
Pattern 5: Trigger a Marketing Automation
Good for: Re-engagement workflows based on deep link behavior.
- Trigger on
deferred_link.claimed(user installed the app after clicking a link) - Add a Mailchimp or ActiveCampaign action
- Tag the user or add them to an automation sequence based on the campaign that drove the install
Working with Nested Data
Zapier handles nested JSON well. The Tolinku webhook payload has a top-level
eventandtimestamp, with event-specific fields nested insidedata. In Zapier's field mapper, you access nested fields with dot notation:data.platformgives you the platform (ios, android, web)data.campaigngives you the campaign identifierdata.tokengives you the link token (the path segment of the deep link)
If Zapier doesn't automatically detect nested fields, use the "Catch Raw Hook" trigger instead of "Catch Hook." This gives you the raw JSON body, which you can parse with a Code step.
Filtering by Event Type
If you subscribed to multiple events on a single webhook, use Zapier's Filter step to route events:
- Filter by event type: "Only continue if
eventexactly matcheslink.clicked" - Filter by platform: "Only continue if
data.platformexactly matchesios" - Filter by campaign: "Only continue if
data.campaigncontainsfacebook"
A cleaner alternative: create separate webhooks in Tolinku for each event type, each pointing to a different Zap. This way, each Zap only receives the events it cares about, and you don't need filter steps.
Limitations to Know About
Signature verification. Zapier's "Catch Hook" trigger does not verify the
X-Webhook-Signatureheader. This means anyone who discovers your Zapier webhook URL could send fake events. For low-risk automations (logging to a spreadsheet, Slack notifications), this is usually acceptable. For anything that triggers financial actions or modifies customer records, use a custom receiver that verifies signatures and then forwards to Zapier, or build the integration with code instead.Rate limits. Zapier's webhook trigger has rate limits that vary by plan. On the free plan, Zaps run every 15 minutes (they're polled, not instant). On paid plans, Zaps run within 1-2 minutes of receiving a webhook. For real-time use cases, you need at least a Zapier Starter plan.
Payload size. Zapier can handle the Tolinku webhook payload without issues. The payloads are small (typically under 1 KB).
Retry handling. Tolinku retries failed webhook deliveries (3 retries at 1 minute, 5 minutes, and 30 minutes). If Zapier's endpoint returns an error, the retry will send the same event again. Zapier does not deduplicate, so your downstream actions may fire multiple times. For idempotent actions (updating a record) this is fine. For non-idempotent actions (sending an email), consider adding a deduplication step using a hash of the event data. See the webhook retry logic guide for more on handling retries.
Multi-Step Zaps
The real power of Zapier comes from chaining multiple actions. Here's an example of a multi-step Zap for referral tracking:
- Trigger: Webhook receives
referral.completedevent - Action 1: Create a row in Google Sheets (event log)
- Action 2: Send a Slack message to #growth channel
- Action 3: Create a HubSpot contact with referral attribution
- Action 4: Send a congratulations email to the referrer via Gmail
Each step uses data from the original webhook payload. Zapier passes the data through the entire chain.
When to Graduate from Zapier
Zapier is excellent for getting started quickly and for teams without engineering resources. Consider moving to a custom integration when:
- Volume exceeds your Zapier plan limits. High-traffic links can generate thousands of events per day. Zapier's task limits (and pricing) can become a bottleneck.
- You need signature verification. If the automation triggers anything sensitive, you need to verify webhook signatures. Zapier's built-in webhook trigger doesn't support this.
- You need complex transformations. Zapier's Code steps work but are limited. If you're writing significant logic in Code steps, you might be better off with a lightweight serverless function.
- Latency matters. For real-time analytics pipelines, Zapier adds unnecessary latency. See our guide on webhooks for analytics pipelines for direct integration patterns.
For many teams, Zapier remains the right choice indefinitely. The tradeoff is cost and control versus speed and simplicity.
To get started, configure a webhook in your Tolinku Appspace and point it at a Zapier Catch Hook trigger. You'll have a working automation in under 10 minutes.
- Column A (Event):
Get deep linking tips in your inbox
One email per week. No spam.