Creating an Appspace
An Appspace is the core organizational unit in Tolinku. It represents one app and contains all of that app’s routes, analytics, domains, banners, team settings, and configuration. Every account starts with one Appspace, and you can add more at any time.
Signing up
Section titled “Signing up”-
Go to app.tolinku.com/auth/signup and create your account with an email and password.
-
After signing up, you will be taken directly to the onboarding screen to create your first Appspace.
Creating your first Appspace
Section titled “Creating your first Appspace”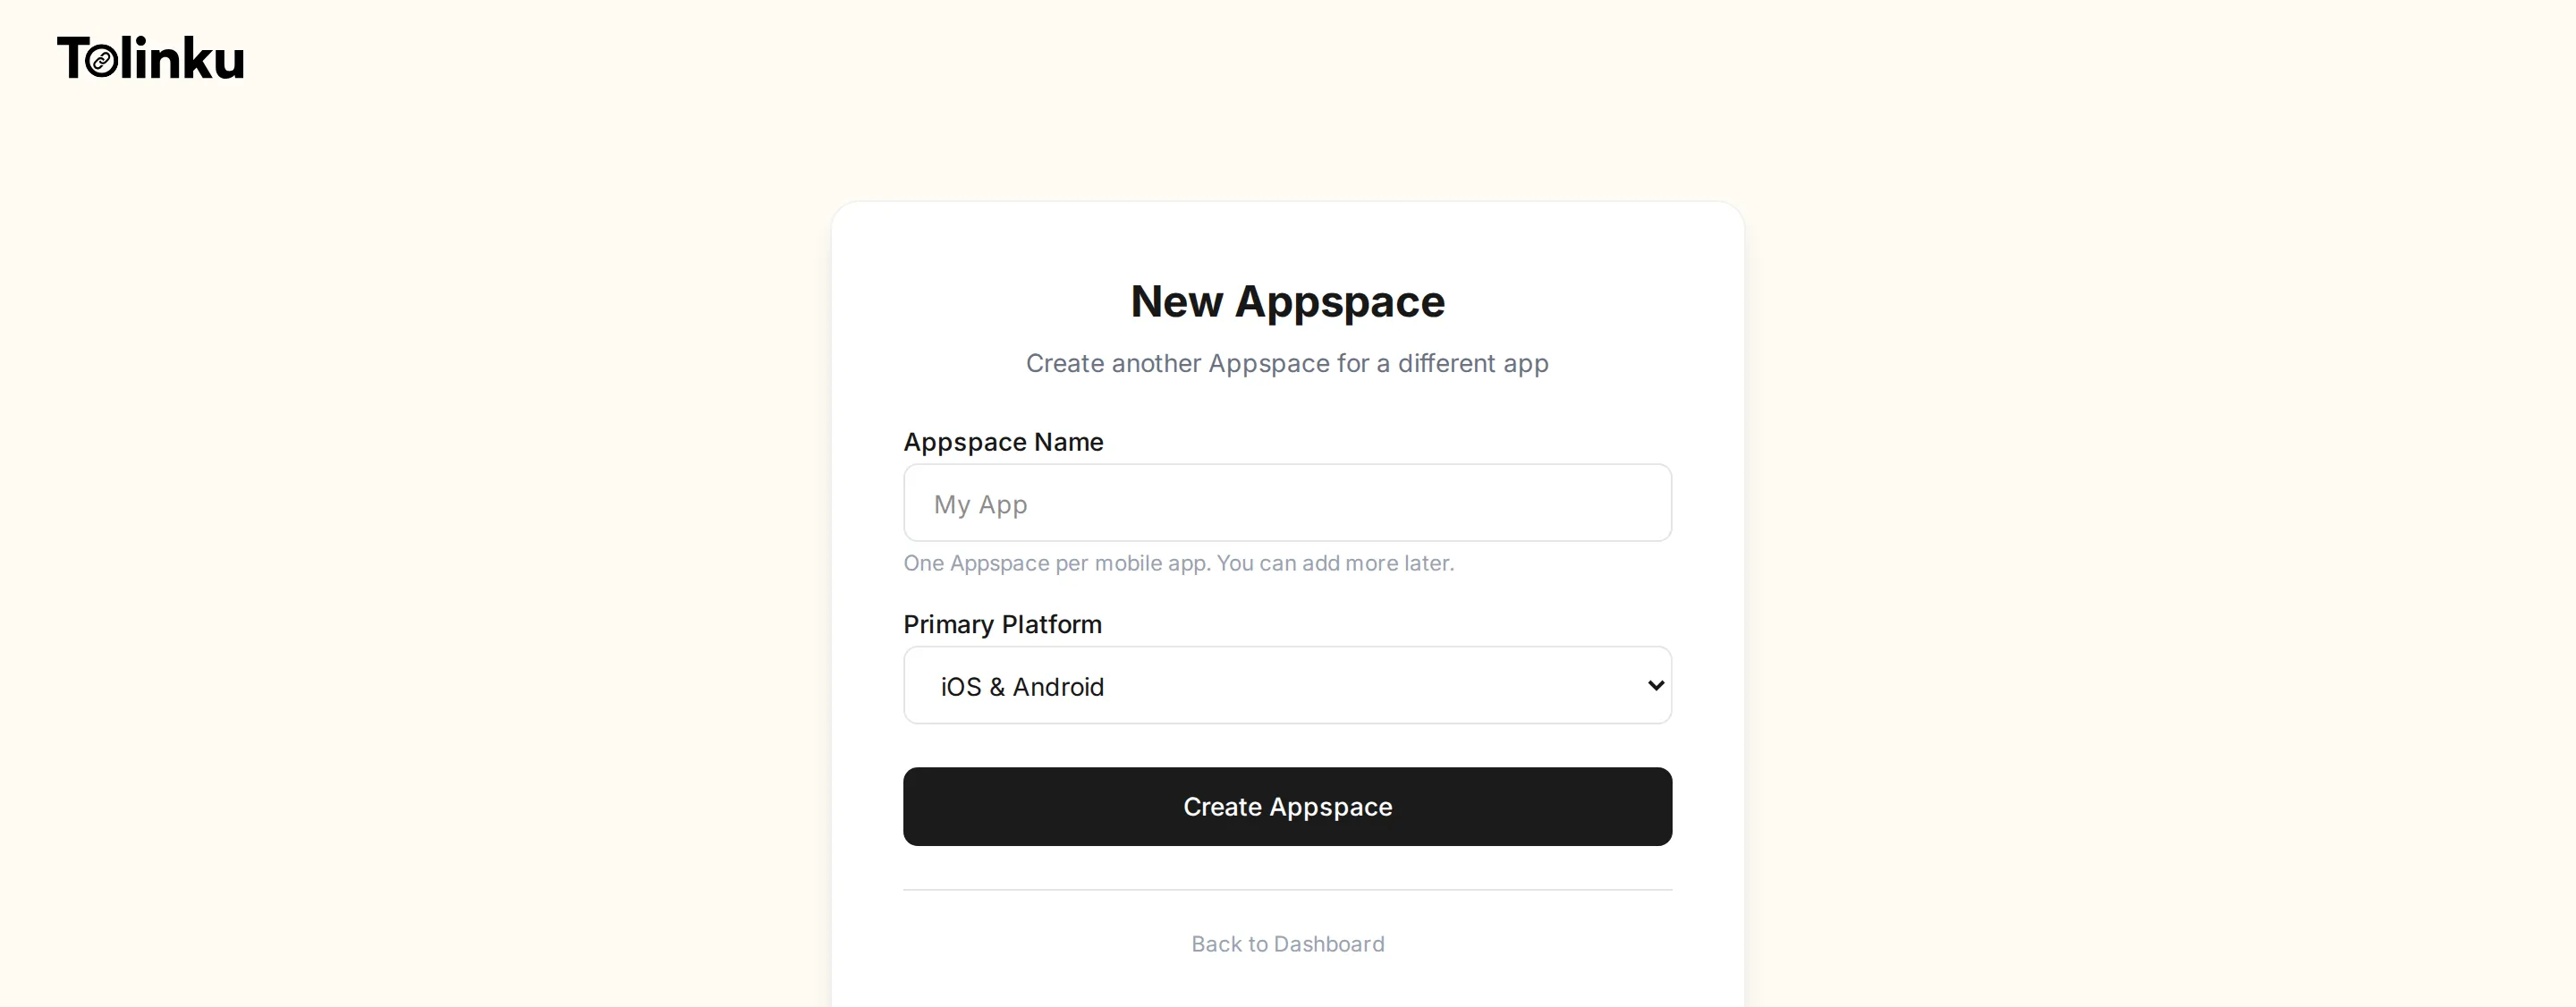
The onboarding form asks for two things:
- Appspace Name: The name of your app (e.g. “FoodDash”, “TravelBuddy”). This is used as a label throughout the dashboard and can be changed later in settings.
- Primary Platform: Choose between iOS & Android, iOS only, or Android only. This determines which platform configuration sections appear in your settings. You can always add the other platform later.
Click Create Appspace and you will land on your new dashboard, ready to configure your app.
Adding more Appspaces
Section titled “Adding more Appspaces”If you manage multiple apps, you can create additional Appspaces from the sidebar:
-
Click the Appspace switcher at the top of the sidebar (it shows your current Appspace name).
-
Click + New Appspace at the bottom of the dropdown.
-
Fill in the name and platform, then click Create Appspace.
Each Appspace is completely isolated. Routes, analytics, banners, team members, and domains are all scoped to the individual Appspace. This makes it safe to manage multiple apps (or multiple clients) from a single account.
Appspace limits by plan
Section titled “Appspace limits by plan”| Plan | Appspaces | Routes | Clicks/month |
|---|---|---|---|
| Free | 1 | 5 | 1,200 |
| Standard ($39/appspace/mo) | Unlimited | Unlimited | 50,000 |
| Growth ($79/appspace/mo) | Unlimited | Unlimited | 250,000 |
| Scale ($149/appspace/mo) | Unlimited | Unlimited | 500,000 |
Each paid Appspace is billed individually. For example, if you have 3 Appspaces on the Standard plan, your monthly bill is $117.
What to do next
Section titled “What to do next”After creating your Appspace, you should:
- Configure your app settings (name, logo, fallback URL)
- Set up iOS and/or Android deep linking
- Add a domain for your links
- Create your first route